Quick & Easy Bird Feeder Camera Setup for Perfect Shots
Bird watching has evolved from a calming outdoor hobby to a high-tech activity thanks to bird feeder cameras. These devices capture birds in their natural habitats without human interference, offering insights into their behaviors and beautiful close-up shots. Whether you’re a seasoned birdwatcher or just beginning, a bird feeder camera setup can bring nature closer to your daily life. Imagine seeing songbirds, cardinals, or even woodpeckers up close, all from the comfort of your home. This guide will walk you through the essentials of choosing, setting up, and optimizing your own bird feeder cam for stunning results.
Choose the Right Bird Feeder Camera

The key to capturing mesmerizing footage lies in selecting the right bird feeder camera. With the variety of options available, understanding what fits your needs best is crucial.
Types of Cameras for Bird Feeders
-
Dedicated Bird Cameras: These cameras are purpose-built for bird watching. They often come integrated with feeders, providing the perfect angle and setup for capturing birds. The Bird Buddy, for instance, is a live bird feeder cam designed with features tailored for bird enthusiasts, including motion-triggered recording and bird species identification.
-
Security Cameras: Affordable and versatile, security cameras such as Blink, Ring, or Wyze are excellent for bird watching. They offer motion detection, night vision, and easy Wi-Fi connectivity, making them ideal for feeder setups.
-
Action Cameras: A small camera like the GoPro can be repurposed for bird watching. While these action cams capture dynamic, high-quality footage, they require frequent recharging and are less suited for long-term setups compared to other options.
-
Trail Cameras: Typically used for wildlife observation, trail cameras are durable and weatherproof, with long battery life. A wildlife camera is ideal for capturing birds and other wildlife at feeders or birdbaths.
-
DIY Options: You can also repurpose old smartphones or webcams as bird feeder cameras, though these may lack the durability and features of purpose-built devices.
Features to Look For in a Bird Feeder Camera
When choosing bird feeder cams, several features are vital for optimal bird watching experience:
-
Camera Resolution: High resolution (1080p or 4K) ensures detailed and vibrant footage, allowing you to see intricate feather patterns and movements. A clear resolution enhances your ability to identify bird species and observe their behavior.
-
Weatherproofing: Cameras designed for outdoor use can withstand rain, snow, and extreme temperatures, ensuring uninterrupted operation. For example, the Blink Outdoor camera is both waterproof and wireless, making it highly reliable for outdoor bird-watching setups.
-
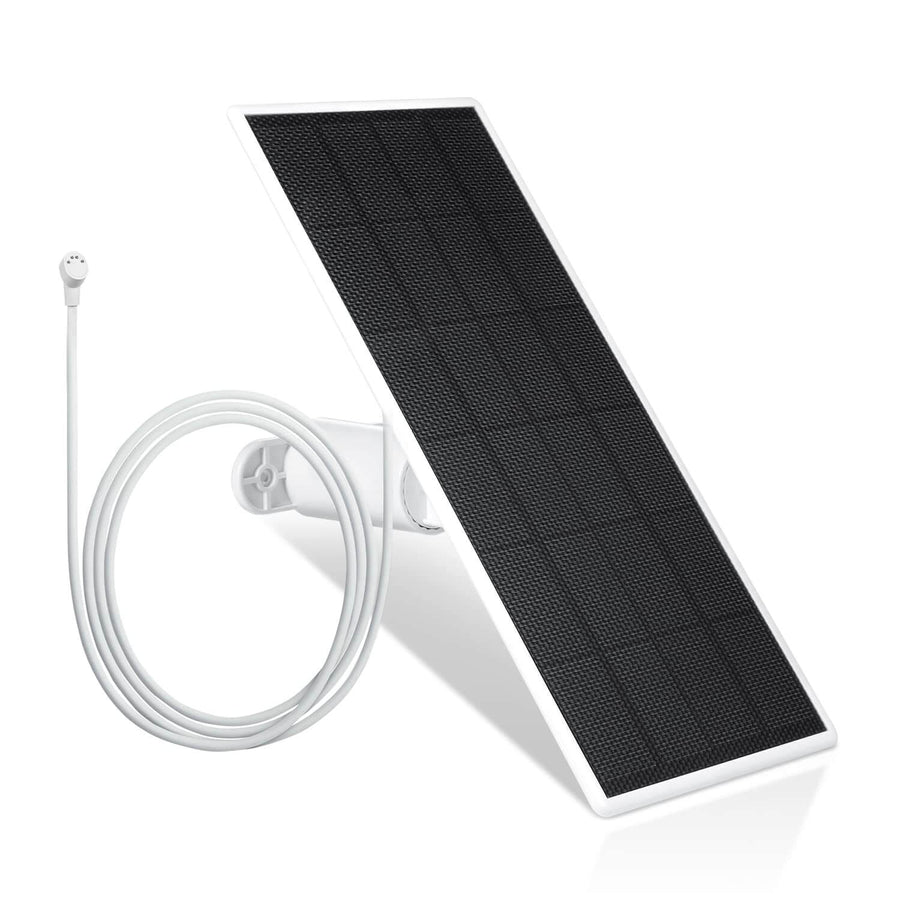
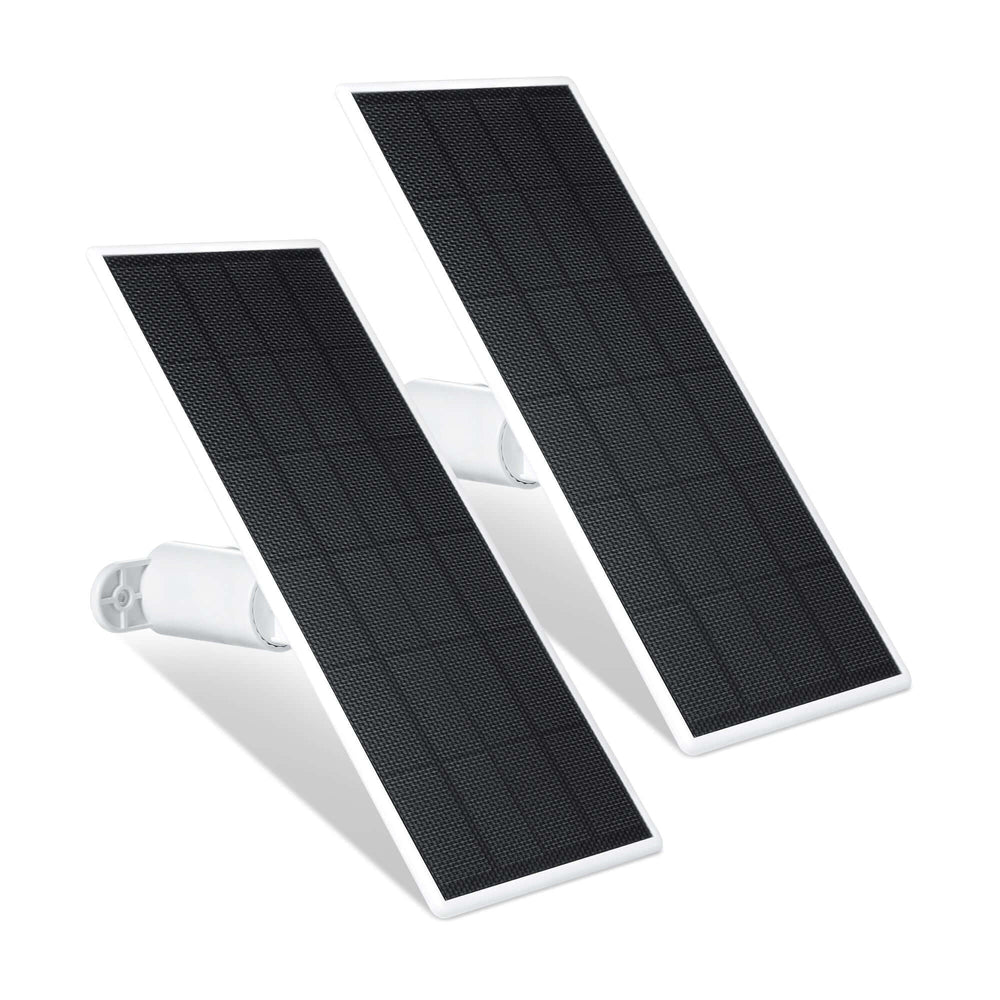
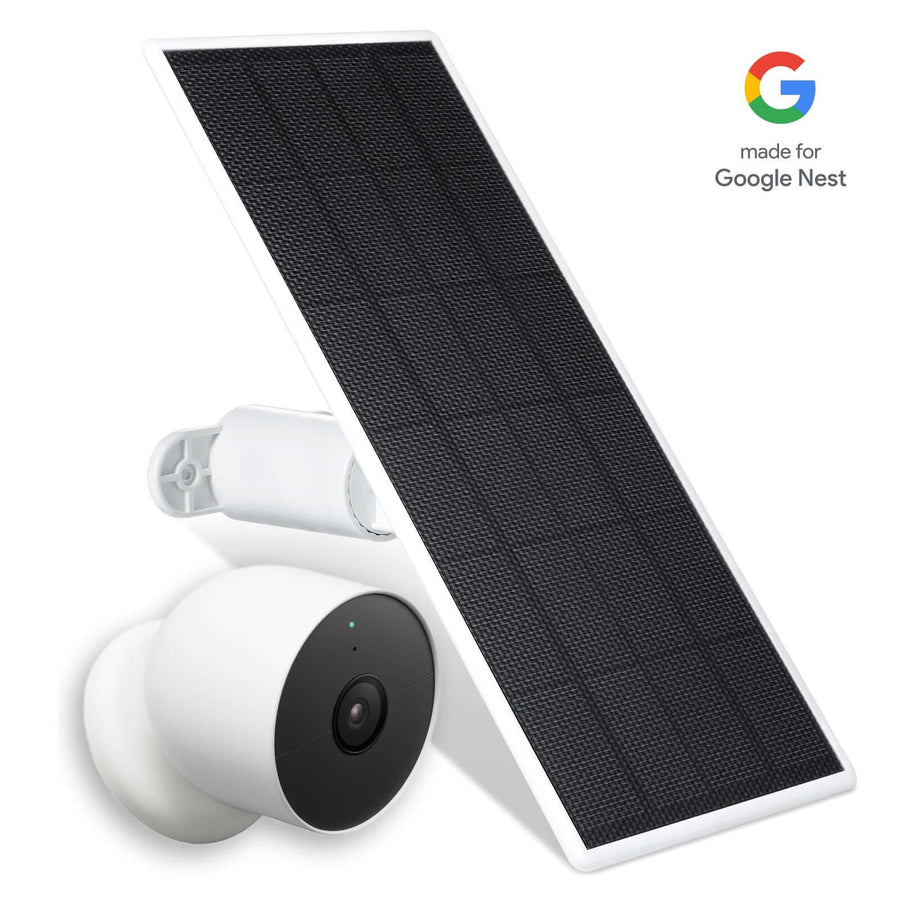
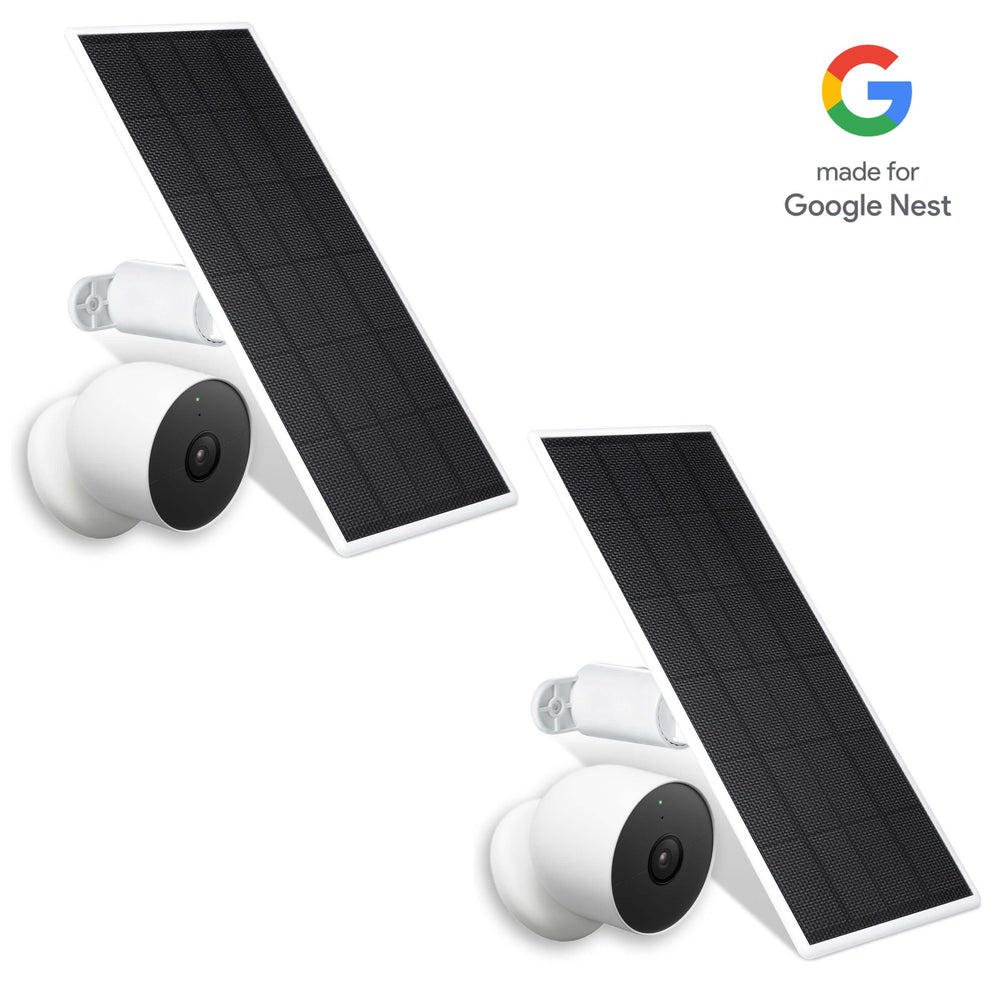
Battery Life: Consider rechargeable or solar-powered cameras to reduce maintenance. Solar panels can significantly extend battery life, ensuring your camera operates continuously. The Blink Outdoor camera, known for its efficiency, offers extended battery performance, making it ideal for long-term use.
-
Motion Detection: This feature activates recording only when birds are present, saving storage and battery. The Blink Outdoor camera includes advanced motion detection functionality, sending alerts directly to your smartphone whenever bird activity is detected.
-
Night Vision: Capture nocturnal birds or other wildlife that visit your feeder after dark. The Blink Outdoor camera excels in this area with its built-in night vision capability, allowing you to document wildlife activity even in low-light conditions.
-
Wi-Fi Connectivity: Enables live streaming and remote viewing from your smartphone or computer, keeping you connected to your feeder anytime. The Blink app, compatible with iOS, Android, and Kindle devices, allows seamless integration and control over your camera’s features, ensuring you never miss a moment.
How to Set Up a Bird Feeder Camera
Proper setup is crucial to capturing the best angles and avoiding technical issues. Here’s a step-by-step guide:
1. Position the Bird Feeder Camera

Placement is key to achieving clear, focused footage:
- Set the camera at a height of 4-6 feet, slightly angled downward to capture the feeding station and surrounding area.
- Keep the camera close, around 5-10 feet away from the bird feeder for a full view without losing detail.
- Ensure the camera is stable and sheltered from direct sunlight or heavy rain.
2. Setting Up with a Security Camera

Security cameras like the Blink Outdoor Camera, Ring Stick Up Cam, or the Wyze Cam can double as bird feeder cameras. To integrate these cameras:
-
Use a compatible case like the Wasserstein Bird Feeder Camera Case, designed for easy mounting and weatherproofing. This camera case is integrated into an actual bird feeder, allowing you to see your furry friends up-close without disturbing them. Just fill up the tray with bird food and wait for birds to fly by.

-
Attach the case to a sturdy support near your feeder, ensuring it aligns with the desired angle.
3. Connect the Camera to Wi-Fi
To enable live streaming and remote viewing:
- Power on the camera and place it within range of your Wi-Fi network.
- Open the camera’s companion app and follow the prompts to connect it to your network.
- Test the connection by viewing a live feed on your phone or computer.
4. Test the Setup
Before finalizing:
- Review the video quality and adjust angles if needed.
- Test motion detection settings to ensure birds trigger recordings.
- Verify night vision performance if applicable.
Optimization Tips for Perfect Shots
Optimizing your bird feeder camera setup is crucial to capturing high-quality footage and minimizing disruptions. These detailed tips will help you get the most out of your bird-watching experience.
Adjust Motion Sensitivity and Notifications
Motion sensitivity settings play a significant role in determining the quality and relevance of captured footage. If the sensitivity is too high, you might end up with false alarms triggered by swaying branches or passing insects. Conversely, if it's too low, you might miss valuable bird activity.
- Customize Sensitivity Levels: Adjust the settings within your camera’s app to focus on the area surrounding the feeder. This minimizes unnecessary recordings.
- Set Activity Zones: Some cameras allow you to define specific areas to monitor, ensuring the focus remains on the feeder itself.
- Schedule Notifications: To avoid constant alerts, set notification times that align with peak bird activity, like early mornings and evenings.
Maximizing Battery Life
Battery life is a critical factor, especially for cameras placed in remote or hard-to-reach areas. Prolonging battery life not only reduces maintenance but also ensures continuous operation.
-
Use Solar Panels: Solar panels can keep your camera powered indefinitely, provided there’s enough sunlight. This is particularly useful for outdoor setups or if you have a wireless bird feeder camera.

- Optimize Recording Settings: Lower the resolution or decrease the frame rate during less active periods to conserve power.
- Enable Power-Saving Modes: Many cameras have settings designed to extend battery life, such as pausing live streaming when not in use.
- Regularly Check Power Levels: Monitor the battery status through your camera’s app to avoid unexpected downtime.
Best Times for Bird Watching
Bird activity fluctuates throughout the day, and understanding these patterns can help you capture the most engaging footage.- Early Mornings: Birds are most active shortly after sunrise when they search for food to replenish energy from the night.
- Late Afternoons: As the day winds down, birds often return to feeders for a final meal before settling in for the evening.
- Seasonal Variations: Migration periods can bring unique bird species to your feeder, providing excellent opportunities for diverse footage.
Capture and Share Bird Footage
Capturing and sharing the mesmerizing moments of bird activity at your feeder can be incredibly fulfilling. With the right tools and techniques, you can preserve these moments and share them with fellow bird enthusiasts or friends and family.
Record and Save Footage
Recording high-quality footage is one of the primary benefits of setting up a bird feeder camera. Most modern cameras offer options for both local and cloud storage:- Local Storage: Many cameras come with SD card slots, enabling you to store videos directly on the device. This is an excellent option if you prefer to manage your recordings offline.
- Cloud Storage: For a more secure and accessible solution, use a camera that supports cloud storage. This allows you to access your videos from anywhere using a smartphone or computer.
- Smartphone Integration: Use your camera’s app to instantly download and save clips to your phone, making it easy to edit or share.
Stream Your Bird Feeder Camera Online
Live streaming is a fantastic way to share real-time bird activity with a global audience. Platforms like YouTube and Facebook Live make this process seamless:- Set Up an Encoder: Use software like OBS Studio to connect your camera’s feed to a streaming platform. Encoders ensure smooth streaming and allow customization of video quality and overlays.
- Obtain a Stream Key: Log in to your chosen streaming software, generate a stream key, and input it into your encoder settings.
- Promote Your Live Stream: Share the stream link with your audience on social media or forums to attract viewers. Regular updates and unique video clips can help grow your following.
Edit and Enhance Bird Videos
Editing your footage can transform raw clips into polished videos ready to share:- Trim Unnecessary Parts: Remove sections without bird activity to keep the video engaging.
- Adjust Brightness and Contrast: Enhance video clarity, especially for footage captured in low light.
- Add Captions or Effects: Label bird species or include fun facts about their behavior. Subtle effects like slow motion can highlight interesting movements.
- Music and Narration: Include background music or a voiceover to add a personal touch and make your videos more entertaining.
Troubleshooting Common Issues
Even with the best bird feeder camera setup, issues may occasionally arise. Identifying and addressing these problems quickly can ensure uninterrupted bird watching and smooth camera operation. Below are some common challenges and their solutions:
-
Wi-Fi Connectivity Problems: Poor signal strength can disrupt live streaming or result in lost footage. To resolve this:
- Use Wi-Fi extenders or mesh networks to amplify the signal, especially for feeders located far from the router.
- Ensure the camera is within the recommended range of your Wi-Fi network.
- Check for obstructions, such as walls or trees, that may block the signal and reposition your router or camera as needed.
-
Weather-Related Issues: Outdoor cameras are exposed to various elements, which can affect their performance. Consider the following:
- Use weatherproof cases, like the Wasserstein Camera Case, to shield your camera from rain, snow, and excessive heat.
- Mount the bird feeder camera under an overhang or other sheltered area to minimize direct exposure to harsh weather conditions.
- Regularly clean the camera lens to prevent dirt, water spots, or frost from obstructing the view.
-
Camera Not Detecting Birds Properly: If motion detection isn’t triggering as expected, try the following adjustments:
- Increase the sensitivity in the camera’s motion detection settings to capture smaller birds or subtle movements.
- Ensure the camera is aimed directly at the feeder with no obstructions in its field of view.
- Use the app’s activity zone feature (if available) to focus on the feeder and ignore irrelevant areas, such as nearby branches or foliage.
-
Power Supply Interruptions: Power issues can disrupt recording or streaming:

-
- Ensure the power source is stable. For battery-powered cameras, regularly check and recharge batteries.
- Use solar panels for extended power in remote locations.
- Secure all connections to prevent accidental disconnections.
-
Blurry or Distorted Video: Video quality problems can diminish your bird watching experience. To fix this:
- Clean the camera lens regularly to remove dirt or smudges.
- Adjust the focus settings (if available) to sharpen the image.
- Ensure the camera’s resolution is set to the highest available option for clear footage.
Conclusion
A bird feeder camera setup offers an incredible opportunity to connect with nature. By following these steps and tips, you can capture stunning footage, enhance your bird-watching experience, and share the beauty of your backyard wildlife with others.
FAQ
Where is the best place to put a bird feeder camera?
Position it at a height of 4–6 feet, angled downward, and within 10 feet of the feeder for clear, focused footage.
What is the Best Camera for Bird Feeders?
Security cameras like Blink or Wyze are affordable and feature-rich, making them ideal for bird feeder setups.
How Long Does the Battery Last on Bird Feeder Cameras?
Battery life varies but typically lasts 3–6 months with moderate use. Solar panels can extend this significantly.
Can I Use Any Security Camera as a Bird Feeder Camera?
Yes, most security cameras can double as bird feeder cameras with the right setup and accessories.
Do you need WiFi for bird feeder camera?
Wi-Fi is essential for live streaming and remote viewing, but some cameras offer local storage options.


Leave a comment