How to Mount the Wasserstein Bird Feeder Camera Case
If you're a bird lover who also enjoys smart home devices, you may be interested in getting a Wasserstein Bird Feeder Camera Case.
The unique accessory lets you attach a camera to your bird feeder, letting you watch your feathered friends up close and personal, even when you're not home.
In this post, we'll show you how to install the Wasserstein Bird Feeder Camera Case, compatible and ready to use with your Blink, Wyze, and Ring Cam devices.
Step 1: Choose the Right Camera
Before you get the Wasserstein Bird Feeder Camera Case, make sure you have the right and compatible camera. The case is designed to work with Blink, Wyze, and Ring Cam models, so if you have one of these cameras, you're good to go. If not, you'll need to get a Blink, Wyze, or Ring Cam before you can enjoy all that our Camera Case has to offer.
Step 2: Select the Right Adapter

Depending on your camera, you’ll have to use the correct spacer and adapter (included in the package) to mount the camera inside the case. The different adapter models are shown in the User Manual.
-
Attach the spacer to the back cover.

-
Insert your camera into the adapter.

-
Replace the back cover.

Step 3: Connect the Camera to a Power Source
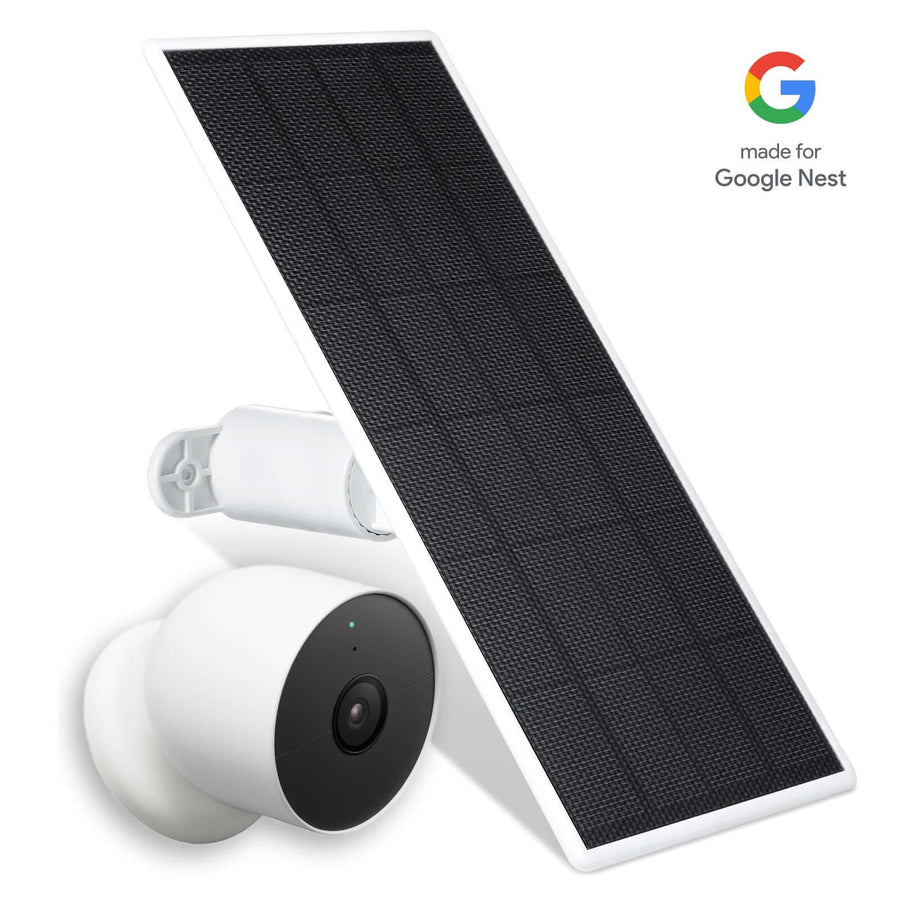
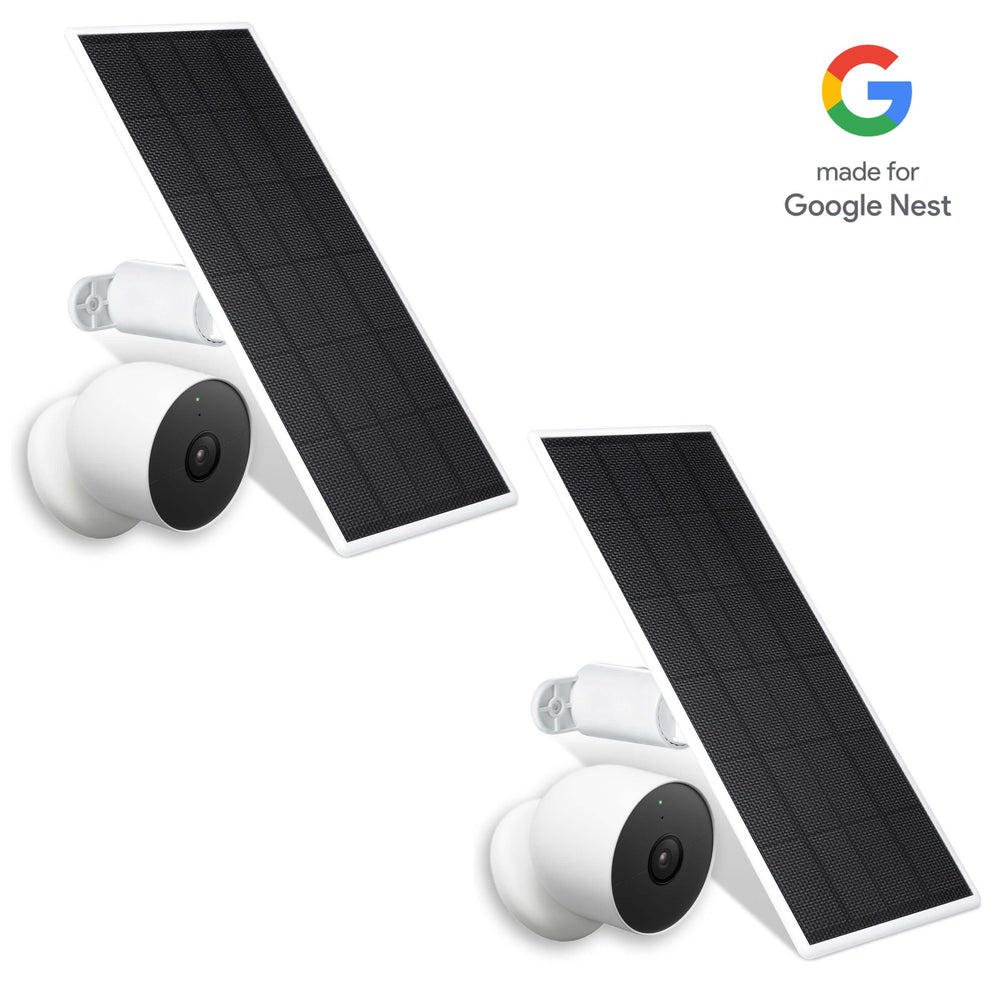
Now that the camera is installed, you can connect it to a power source to ensure non-stop operation. The Wasserstein Bird Feeder Camera Case has a hole at the back where you can thread the power cables. It's also 100% compatible with our Wasserstein Solar Panels.

Step 4: Mount the Camera Case
Choose the location where you want to mount the bird feeder. The package includes a strap and a metal support frame that you can use for mounting.
- For a pole or a small tree, use the strap provided and tighten it until the fit is snug. Loop the strap through the holes on both sides of the case. Wrap the strap around a pole or a small tree and tighten the buckle.

-
For a wall or large tree, use the metal wall mount and mounting screws provided (1/8” drill-bit size).

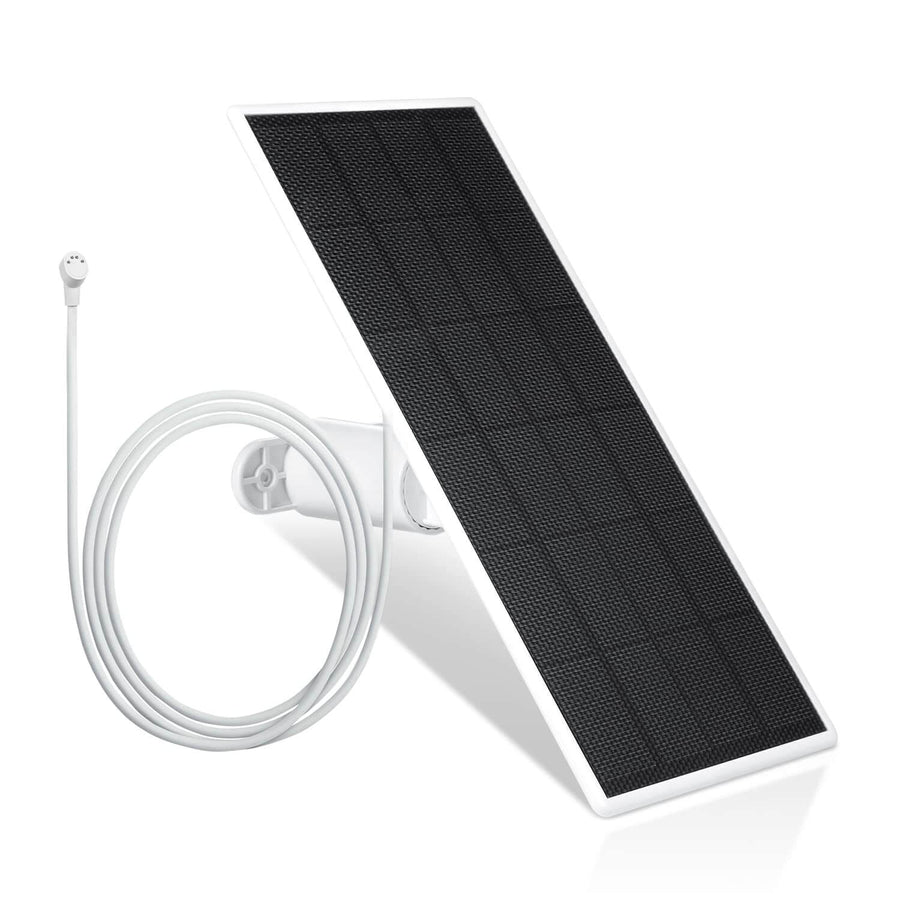
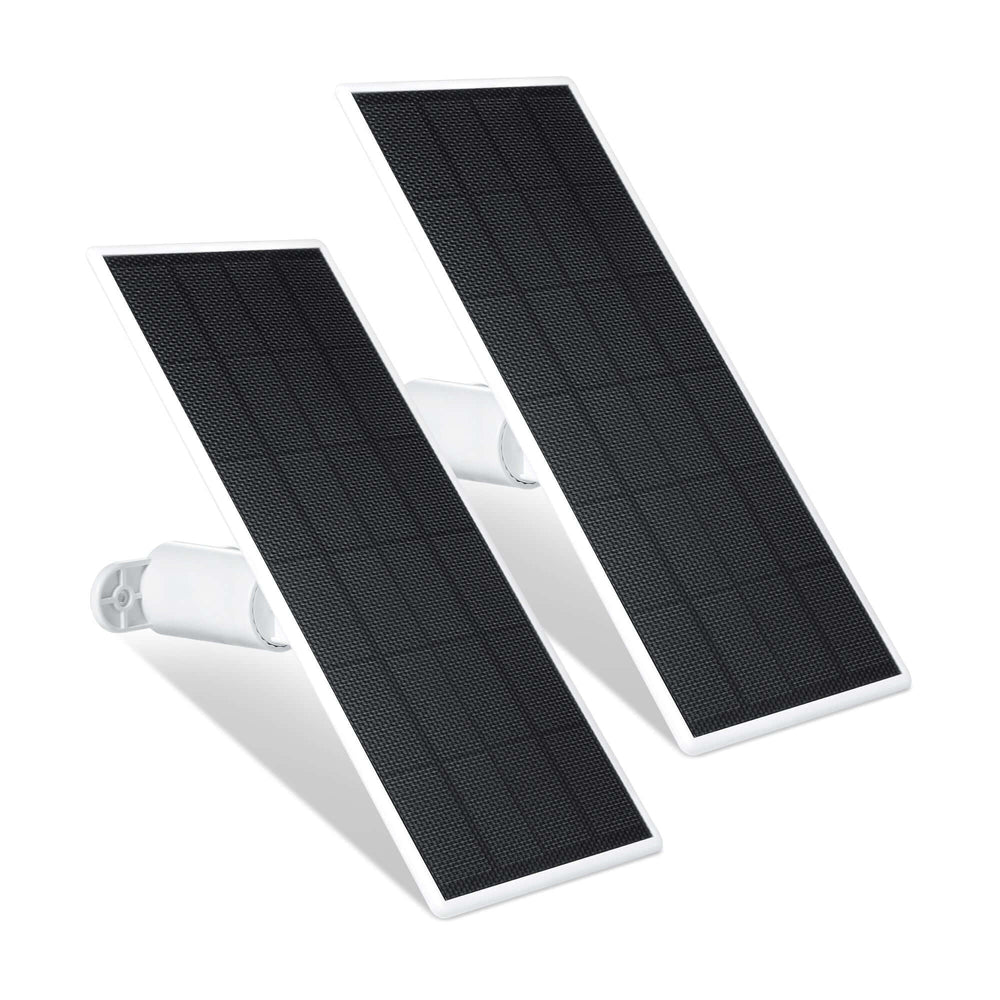
Additionally, the solar panel can be mounted on top of the roof cover.

Step 5: Install the Feeding Tray
Install the tray by sliding it at the bottom of the camera case. You’ll hear and feel a click then the tray is securely installed.

Step 6: Add Birdseed
Add birdseed through the opening at the top and attach the roof to cover the opening.

Step 7: Test the Camera
Before you start bird-watching, test the camera to ensure everything works properly. Use the app or website provided by your camera manufacturer to view. Adjust the settings as needed to get the best image.
You're now ready to start enjoying the secret life of your feathered friends! Whether at work, on vacation, or even relaxing on the couch at home, enjoy a front-row view of your feathered visitors – anytime and anywhere.
Don't miss out and get a Wasserstein Bird Feeder Camera Case now!


Leave a comment