How to Power a Security Camera Using Solar Panel: A Step-by-Step Guide
Quick Summary
- Solar-powered security cameras use a solar panel, battery, and charge controller to create a reliable security system with an uninterrupted power supply, even in remote locations.
- To size your system, calculate your camera’s power requirements (watts × hours), choose a battery that stores enough energy for cloudy days, and pick a solar panel with enough power output for your climate’s peak sun hours.
- Adjust panel tilt angle seasonally, maintain clean panels, and monitor battery status for reliable performance year-round.
- Use adjustable mounts like the Wasserstein 2-in-1 Universal Pole Mount to position both your camera and solar panel for optimal angles.
Introduction to Security Cameras
Security cameras are a vital part of modern home and business security. They monitor, record, and deter unwanted activity, providing you with peace of mind whether you’re home or away.
The challenge? Powering them, especially outdoor security cameras in locations far from outlets. Running cables across the yard or drilling through walls can be costly and messy.
Solar-powered security cameras solve this problem. They use solar energy to generate enough power for the camera, stored in a battery for night use or cloudy days. The result is a wireless, self-sustaining, and eco-friendly system.
They’re ideal for:
- Front yard and backyard monitoring
- Remote locations with no grid power
- Properties in sunny locations
- Reducing electricity costs while staying secure
Assessing Power Requirements
The first step in learning how to power a security camera using a solar panel is to determine exactly how much power your system needs.

Most Wi-Fi-enabled security cameras consume 4–15 watts when recording. Some go into low-power standby mode when idle, while others continuously record at full power.
Example:
- Six Wyze Cam v3 units, each at 5W: 6 × 5W = 30W total
- Running 24 hours/day: 30W × 24h = 720 Wh/day
That’s your daily energy requirement. From here, you can calculate your battery size and solar panel wattage. For example, 144 Wh ÷ 12V = 12 Ah needed. Here, 'Ah' stands for 'amp hours,' which is a standard unit for measuring battery capacity.
Tips when assessing power requirements:
- Check manufacturer specs for voltage and current draw
- Add 20–30% margin for cloud cover and system inefficiencies
- Consider accessories like Wi-Fi extenders, which may draw extra power
Choosing the Right Battery
Your battery is the heart of the system. It ensures your outdoor security camera keeps running when the sun isn’t shining.
Battery Types:
- AGM or Gel Lead Acid
-
- Low cost, but heavy
- Only use ~50% of capacity to preserve battery life
- LiFePO₄ (Lithium Iron Phosphate)
-
- Lightweight, long-lasting (up to 3× more cycles than lead acid)
- Use up to 80–90% of capacity
For solar applications, a deep cycle battery is recommended because it is designed to be regularly discharged and recharged, making it ideal for powering security cameras.
Sizing Example:
If your camera uses 144 Wh/day at 12V:
144 Wh ÷ 12V = 12 Ah needed
For lead acid (50% usable): 24 Ah battery
For LiFePO₄ (80% usable): 15 Ah battery
Pro Tip: Size your battery for at least 2–3 days of autonomy in case of cloudy days.
Choosing the Right Solar Panels
The solar panel must produce enough daily energy to recharge the battery fully.

Factors to Consider:
- Wattage: Higher wattage = more energy per day
-
Panel Type:
- Monocrystalline = More efficient, performs better in low light
- Polycrystalline = Lower cost, slightly less efficient
- Durability: Look for IP65+ rated panels for harsh conditions
- Mounting: Adjustable mounts maximize direct sunlight
If you need more power than a single panel can provide, you can create a solar array by connecting multiple panels together.
Sizing Formula:
Battery capacity (Wh) ÷ Peak sun hours = Minimum panel watts
Add 30% to compensate for system losses.
Example:
288 Wh ÷ 5 sun hours = 57.6W
57.6W × 1.3 = 75W solar panel recommended
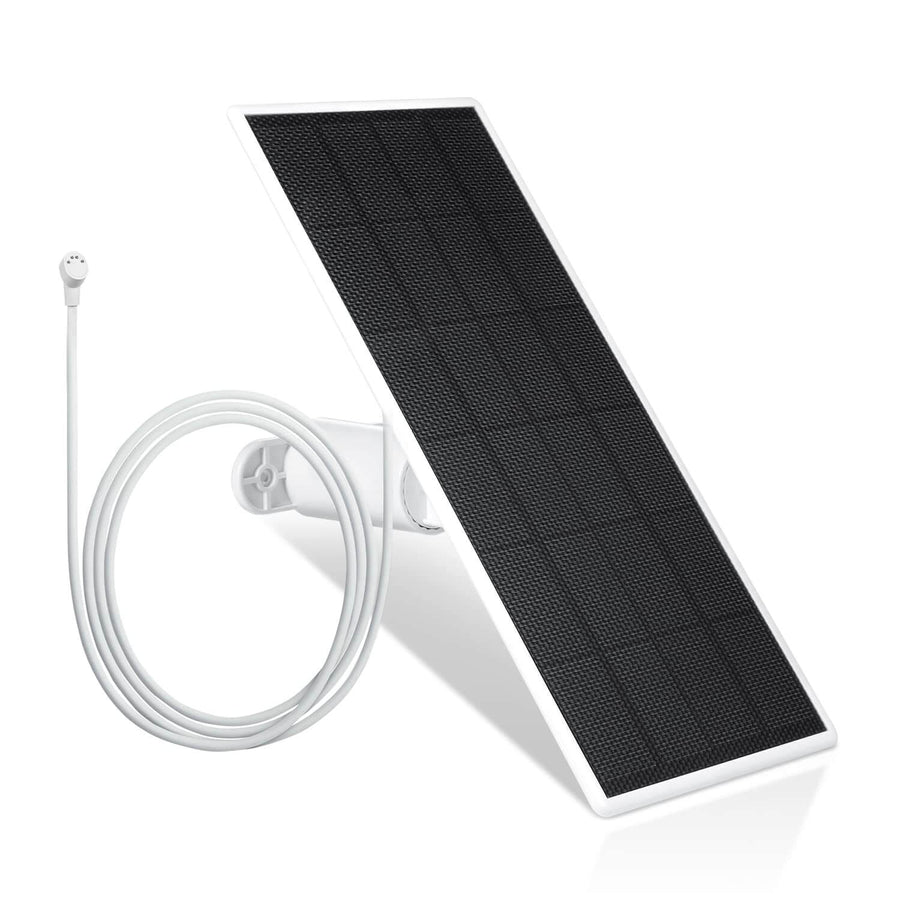
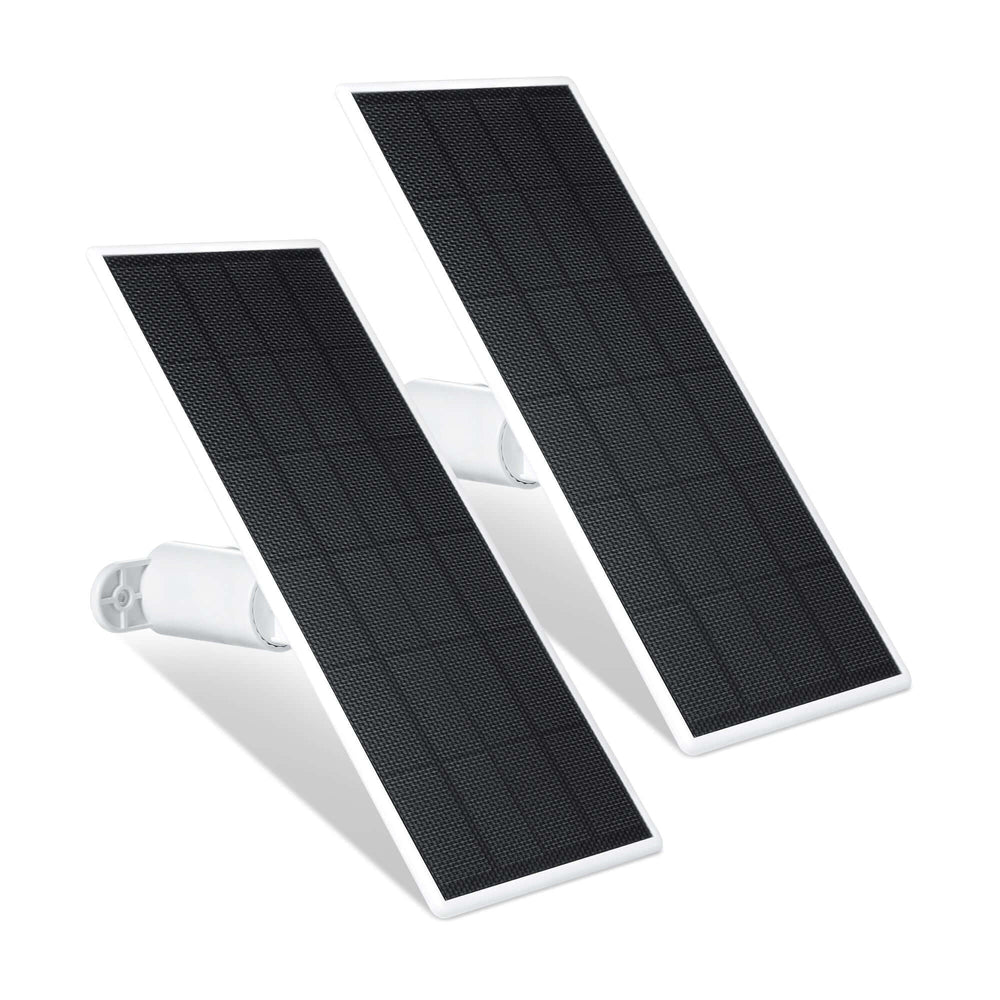
💡 Tip: Use a Wasserstein Premium Solar Panel for Google Nest Cam for reliable performance and maximum sunlight exposure year-round.
Understanding Solar Power
Your solar security camera system works like this:
- Solar panel collects sunlight → DC power
- Charge controller regulates voltage/current to protect the battery
- Battery stores energy for night/cloudy periods
- Camera runs off battery via regulated output
If your security camera or accessories require AC power, you will need to add an inverter to convert the DC power from the battery to AC.
Tilt Angle & Orientation:
- Face panels true south in the Northern Hemisphere
- Set tilt angle = your latitude ± 15° seasonally
- Use adjustable mounts to optimize angles year-round
Selecting a Charge Controller
Selecting the right charge controller is a critical step in building a reliable solar powered security camera system. The charge controller acts as the system’s gatekeeper, regulating the flow of energy from your solar panel to the battery. This not only prevents overcharging—which can shorten battery life—but also ensures your security camera receives a steady, safe supply of power.
When choosing a charge controller, start by matching its voltage and current ratings to your solar panel and battery. Make sure the controller can handle the maximum output your panel can produce, as well as the voltage of your battery. For optimal performance, look for a charge controller with high efficiency and multiple charging modes, such as bulk, absorption, and float. These modes help maximize energy harvesting and keep your battery healthy over time.
Safety is just as important as efficiency. Choose a charge controller with built-in protection features like overcharge, over-discharge, and short-circuit protection. These safeguards help protect your camera system from unexpected power surges or faults, ensuring your solar powered security setup remains dependable in all conditions.
By investing in a quality charge controller, you’re not just protecting your battery—you’re ensuring your solar powered security camera system delivers reliable performance and uninterrupted power supply, day after day.
DIY Solar Security Camera Installation
This is where your planning becomes reality. A well-installed solar-powered security camera can operate for years with minimal intervention, while a poorly installed one can suffer from frequent downtime and reduced battery life.
Location Planning
- Panel: Position in a sunny location that gets direct sunlight for most of the day, avoiding shade from trees, roofs, or fences.
- Camera: Place to cover key areas without blind spots, and ensure strong Wi-Fi if it’s wireless.
Mounting

- Use a secure, adjustable mount so you can fine-tune angles for maximum sunlight exposure and the best viewing coverage. 💡 The Wasserstein 2-in-1 Universal Pole Mount holds both your camera and panel with full adjustability.
- A sturdy mounting bracket is essential for securely attaching your solar panel and camera to a wall, pole, or roof.
Wiring
- Connect panel → solar charge controller → battery terminals → camera in sequence.
- Use UV-resistant solar cables and waterproof connectors to withstand harsh conditions.
Testing
- Verify the camera feed, check battery status, and confirm charging under sunlight.
- Test at night to ensure the system powers the camera through to morning.
Configuring the Camera System
Installation gives your camera power, but configuration makes it efficient. Proper settings will prevent wasted energy and optimize your security system for reliable performance.
- Video Resolution: If you don’t need ultra-HD for all recordings, lowering resolution to 1080p can extend battery life.
- Motion Detection: Set detection zones to focus only on high-priority areas, reducing false triggers from moving trees, pets, or passing cars. Enabling the camera's motion sensor can help further reduce unnecessary recordings and save battery life.
- Alerts: Enable only essential notifications, like person detection, to avoid constant push alerts that drain your phone battery and cloud storage.
- Night Vision: Test the infrared LEDs in total darkness to ensure adequate coverage.
💡 Pro Tip: Many cameras let you schedule recording or monitoring windows. Use this feature to reduce unnecessary power consumption during low-risk hours.
Considering the Best Alternative
Solar is the best choice for remote locations, off-grid living, or reducing electricity bills, but it’s not the only power option:
-
Battery-Only Cameras: Great for temporary or mobile setups. No wiring needed, but you must recharge or replace batteries frequently. To avoid the downtime caused by charging, a battery charger like the Wasserstein Battery Charging Station for Ring Camera/Ring Doorbell and Wyze Battery Cam Pro Batteries allows you to keep a fully charged spare battery when needed. In locations where solar or wired power is not available, a portable power station can also be used to power security cameras.

- Wired Power: Offers the most stable, uninterrupted power supply, but running cables can be expensive, especially over long distances.
- Hybrid Solar + AC: Combines renewable solar energy with a backup grid connection. Ideal for areas with long cloudy seasons.
💡 Pro Tip: Even with wired power, adding a solar panel can serve as a backup in case of outages.
Overcoming Challenges on Cloudy Days
Even the most efficient solar panels see reduced power output during overcast weather, sometimes by 50–80%. Without planning, your system could lose power just when you need it most.

Solutions:
- Oversize components: Choose a panel and battery with more capacity than your minimum calculation.
- High-efficiency panels: Monocrystalline models work better in low light than polycrystalline ones.
- Adjustable mounts: Tilt toward the sun’s path to capture every available ray.
- Keep panels clean: Dirt or pollen reduces light absorption even further in low-light conditions.
Testing and Maintenance
A DIY solar security camera setup needs occasional attention to maintain reliable performance:
- Monthly: Wipe down the solar panel with a microfiber cloth to remove dust, pollen, or bird droppings.
- Weekly: Check battery levels and inspect battery terminals for corrosion.
- After storms: Look for loose mounts, frayed solar cables, or water ingress in connectors.
- Software updates: Keep your camera firmware updated for security patches and performance improvements.
Security Camera System Design
If you think you may add more cameras later, it’s smart to design for growth from the start:
- Voltage matching: Ensure all future components use the same DC power standard.
- Charge controller capacity: Pick one that can handle more panels than you currently have.
- Mounting space: Leave room on poles or walls for extra panels or cameras.
- Cable routing: Use conduit that’s large enough to fit additional wiring later.
💡 Pro Tip: Modular systems let you scale up without replacing your existing setup. Just add panels, batteries, or cameras as needed. Planning for future expansion ensures your system can easily accommodate more cameras or solar panels as your security needs grow. Wasserstein offers smart camera and solar panel bundles in multipacks, allowing you to scale up your system as needed.
Solar-Powered Security Camera Benefits
Solar-powered security cameras bring a host of advantages to any property, making them a smart choice for both homeowners and businesses. By tapping into solar power, these cameras operate independently of the electrical grid, which means you can install them virtually anywhere without running cables or searching for nearby outlets.
One of the biggest benefits is cost savings. Solar-powered security cameras reduce your electricity bills and eliminate the expense of trenching or wiring, especially in remote locations. They’re also incredibly reliable, providing an uninterrupted power supply even during outages or in areas where grid power is unavailable.
Environmentally conscious users will appreciate that solar-powered security cameras are a green solution, producing no emissions and requiring minimal maintenance. Their self-sustaining design means less time spent on upkeep and more time enjoying peace of mind.
Whether you’re securing a front yard, garden, or a remote property, solar powered security cameras offer flexible installation, dependable operation, and a truly reliable security system—all powered by the sun.
Camera System Longevity
Maximizing the lifespan of your solar powered security camera system comes down to regular maintenance and smart component choices. To keep your system running smoothly, make it a habit to clean the solar panel regularly—this ensures maximum sunlight exposure and optimal power output. Dust, pollen, or debris can reduce efficiency, so a quick wipe-down goes a long way.
It’s also important to inspect the battery and charge controller for any signs of wear or corrosion. Check all wiring and connections to your security camera for damage, especially after storms or harsh weather. Monitoring your system’s battery status and power output can help you catch small issues before they become big problems, ensuring your camera system delivers reliable performance year-round.
Choosing high-quality, durable components, like weather-resistant solar panels, robust batteries, and efficient charge controllers, will help your system withstand harsh conditions and provide an uninterrupted power supply. With regular maintenance and attention to detail, your solar-powered security camera system will continue to protect your property for years to come.
FAQs
Can I power a security camera with a solar panel?
Yes. A solar-powered security camera uses a solar panel to convert sunlight into electricity, stored in a battery for continuous operation. With the right power output, solar charge controller, and battery capacity, you can run a reliable security system anywhere (even in remote locations) without running cables or relying on the grid.
What is the best way to power outdoor security cameras?
For outdoor security cameras, a solar-powered security setup is often best. It offers an uninterrupted power supply without running long cables, and it works well in sunny locations or off-grid sites. Combining a high-efficiency solar panel, quality battery, and weatherproof components ensures reliable performance in both sunny and cloudy conditions.
Why isn't my solar panel charging my security camera?
Possible reasons include poor sunlight exposure, shaded placement, dirty panel surface, loose wiring connections, or a faulty charge controller. Cloud cover can also reduce energy production. Check battery status, clean the panel, and ensure it’s installed at the correct tilt angle toward the sun for maximum sunlight exposure.
Can I run a solar-powered security camera without Wi-Fi?
Yes, but features like real-time monitoring or push alerts won’t work. Some solar security camera models store video locally on an SD card, allowing playback later. For true remote monitoring, Wi-Fi or cellular connectivity is needed, but off-grid setups can still record footage without an internet connection.
How to calculate solar panel wattage for a security camera?
Multiply your camera’s power requirements (watts) by daily operating hours to get watt-hours. Divide by the average sun hours per day in your area to estimate panel wattage. Add 20–30% to account for cloud cover and energy losses. This ensures enough power for a fully charged battery year-round.
What are the best solar panels for powering outdoor security cameras?
The best panels are monocrystalline for high efficiency, weather-resistant for harsh conditions, and equipped with adjustable mounts for maximum sunlight exposure. 💡 Try: Wasserstein Solar Panels, designed for reliable charging even during overcast weather and compatible with multiple camera brands.
Solar panels vs batteries for security camera power
Solar panels generate power daily, making them ideal for long-term, sustainable operation. Batteries store energy but need recharging from an external source if not paired with a panel. The most reliable security system uses both solar for generation and a battery for backup during nights or cloudy days.
What maintenance is required for solar-powered security cameras?
Clean the solar panel monthly to remove dust, pollen, or debris. Check battery status weekly and inspect cables and connectors for wear. After storms, confirm mounts are secure and the camera system is operating. Keep firmware updated to maintain reliable performance and security features.


Leave a comment