Best Settings for Blink Outdoor Camera (Top Tips & Tricks)
Blink Outdoor cameras offer a remarkable level of customization, allowing users to tailor their security systems precisely to their preferences. From fine-tuning motion sensitivity to scheduling arming and disarming, optimizing these settings is essential to unlock the full potential of your Blink camera's features.
If you want to build a formidable home security system, picking the best settings for Blink Outdoor Camera according to your needs is a must.
Why You Should Optimize Your Blink Camera Settings
Optimizing your Blink Outdoor camera settings allows you to tailor the camera's performance to your specific needs. This customization ensures that you capture high-quality images and videos, adjust clip length, maximize battery life, and prevent unnecessary alerts and false alarms. Additionally, by fine-tuning your camera's settings, you can enhance its security and privacy features, protecting your footage and personal information from potential threats.
What Are the Best Settings for Blink Outdoor Camera?
To get the most out of your Blink Outdoor camera, consider these essential settings and tips:
Image and Video Quality Settings
Blink Outdoor cameras offer three resolution options to suit your preferences:
-
Saver – 480p resolution or SD Quality
-
Standard – 720p resolution or HD Quality
-
Best – 1080p resolution or Full HD Quality
Lower resolutions consume less bandwidth and storage, while higher resolutions provide better image quality. Select the resolution that best matches your needs, keeping in mind that higher resolutions require more storage and may drain the battery faster.
Adjust Resolution Settings

To set your Blink camera's video quality, follow these simple steps:
-
Open the Blink app on your smartphone or tablet and log in.
-
Select the camera you want to adjust video quality for by tapping its settings icon next to the live view thumbnail.
-
In the camera settings, go to the Video tab and choose your desired video quality.
-
Click the save button in the top right corner to confirm your choice.
Ensure Crisp Daytime Images
For optimal daytime image quality, place your camera where it has an unobstructed view of the area you want to monitor. Clean the camera lens regularly to prevent dust and dirt from affecting image clarity. Additionally, ensure proper lighting conditions, as adequate natural light can significantly improve image quality.
Enhance Night Vision Settings
Blink Outdoor cameras are equipped with infrared LEDs for night vision. Adjust the intensity of the Blink night vision mode to balance visibility and battery life. In well-lit areas, you can reduce the night vision intensity to save power without compromising image quality.

You can turn the night vision Off or On or set it to Auto. The Auto setting lets the system automatically adapt to varying lighting conditions, ensuring optimal night vision performance.
Blink cameras detect motion through a passive infrared (PIR) sensor. This sensor is specifically designed to detect changes in temperature within the camera's view, which is crucial for accurate motion detection, especially during nighttime. The IR intensity has three settings: Low, Medium, and High. The Medium setting provides a balanced level of visibility without overexposing or underexposing your nighttime video footage.
Motion Detection and Sensitivity
Customize motion detection zones to focus on specific areas of interest. This prevents unnecessary alerts triggered by movements in non-critical areas, such as passing vehicles or neighboring properties
Setting up Motion Detection Zones

To ensure that your Blink camera records clips, you must arm the system and enable motion detection. This can be done either from the home screen or the camera settings page in the Blink app.
Once enabled, you'll notice the "running man" icon, which serves as a quick shortcut to toggle motion detection on and off without navigating through the settings page. The icon appears blue when motion detection is active and gray when it's disabled.
If you wish to manually enable motion detection, follow these steps:
-
Open the Blink app.
-
Access the camera settings page by tapping the "three dotted lines" icon.
-
Toggle the motion detection switch to the 'on' position.
Activity Zone Settings
Activity Zones allow you to specify particular areas within the camera's field of view where you want to monitor motion. You can draw up to three rectangular motion zones on the live view screen, and the camera will only alert you if motion is detected within those zones. For example, if your Blink camera is mounted outside your front door, create a motion zone covering just the porch area rather than the entire yard. This reduces false alarms and ensures you receive notifications only when someone approaches your front door.

To create a motion trigger zone:
-
Navigate to camera settings.
-
Tap on "Zones."
-
Select "Activity zone."
-
Gray out the unwanted areas.
-
Tap "Done" to save your changes.
Finding the Right Sensitivity Level
Blink Outdoor cameras allow you to adjust the sensitivity level of their motion detection. Fine-tune this setting to minimize false alarms caused by animals, moving shadows, or changing weather conditions. Start with a moderate sensitivity level and make adjustments as needed.
To calibrate the motion detection sensitivity settings of your camera:
-
Launch the Blink app on your compatible smartphone or tablet.
-
From the app's main screen, identify the specific Blink camera you intend to adjust the motion sensitivity for. Simply tap the settings icon located beside the camera thumbnail.
-
Navigate along the sensitivity bar to set your desired motion sensitivity level.
-
To confirm your selected sensitivity setting, tap the Save button on the top right menu bar.
Minimizing False Alarms
To further reduce false alarms, consider the following tips:
-
Install your camera at the right height and angle to avoid capturing excessive motion from the ground.
-
Use the included mount to stabilize the camera, preventing it from swaying due to wind or vibrations.
-
Ensure the camera lens is clean and free from obstructions that might trigger false alerts.
Power Management
Blink Outdoor cameras run on batteries, and optimizing their power usage is crucial. Here are some tips on how you can better manage power on your Blink camera:
Battery Life Optimization Tips
-
Set a schedule for your camera to be active only during specific hours when you need surveillance.
-
Adjust the camera sensitivity and detection zones to minimize frequent activations and motion alerts.
-
Use the camera's sleep mode when you don't require real-time monitoring, such as during the night.
Set Clip Length

Clip length, as the name implies, determines the duration of the recorded clips. The default setting is at 5 seconds, but it can be adjusted to as long as 60 seconds, depending on your specific requirements. Adjusting the clip length can have an impact on the battery life and storage of your outdoor camera.
To set a custom clip length for your Blink cameras, follow these straightforward steps:
-
Launch the Blink app on your compatible smartphone or tablet and ensure you are logged into your Blink account.
-
From the app's main screen, select the Blink camera for which you wish to adjust the clip length. Simply tap the settings icon located next to its live view thumbnail.
-
Slide the clip length bar to your desired duration.
If you prefer to conserve battery and storage resources, you can also enable the "End Clip Early If Motion Stops" option. This will help save battery and storage by stopping the clip recording once it stops detecting motion.
Solar Panel Integration

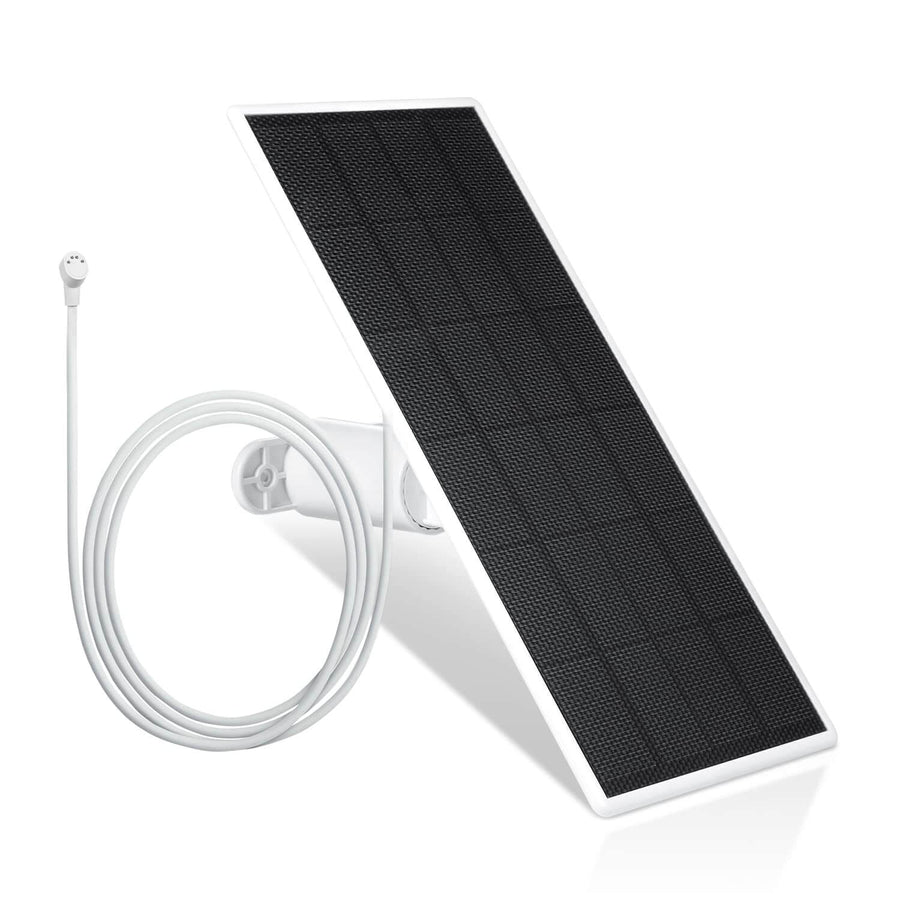
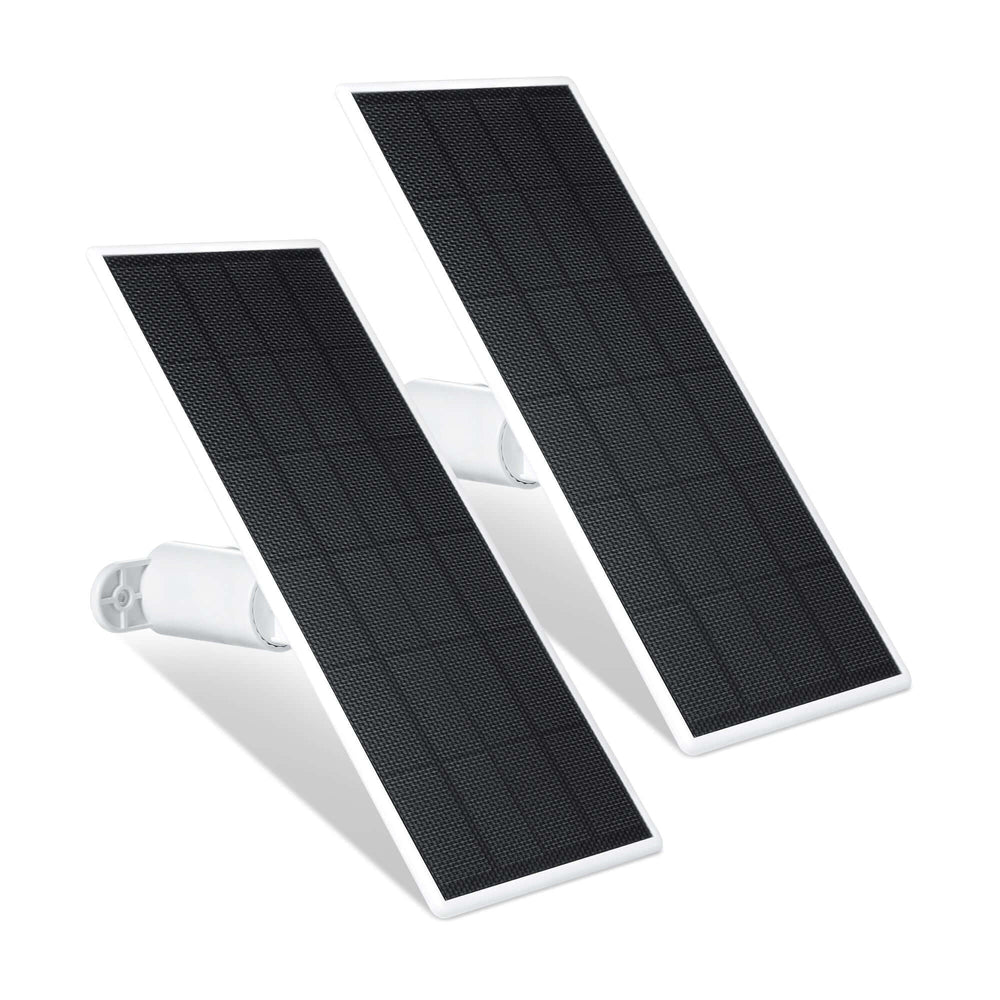
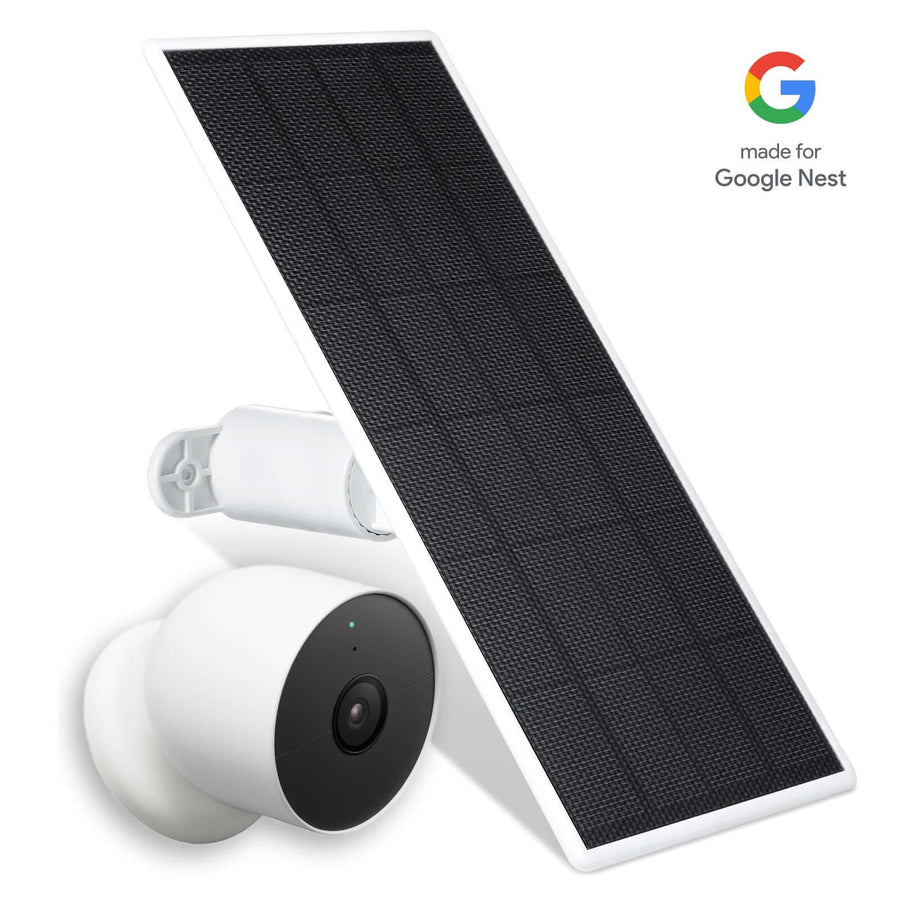
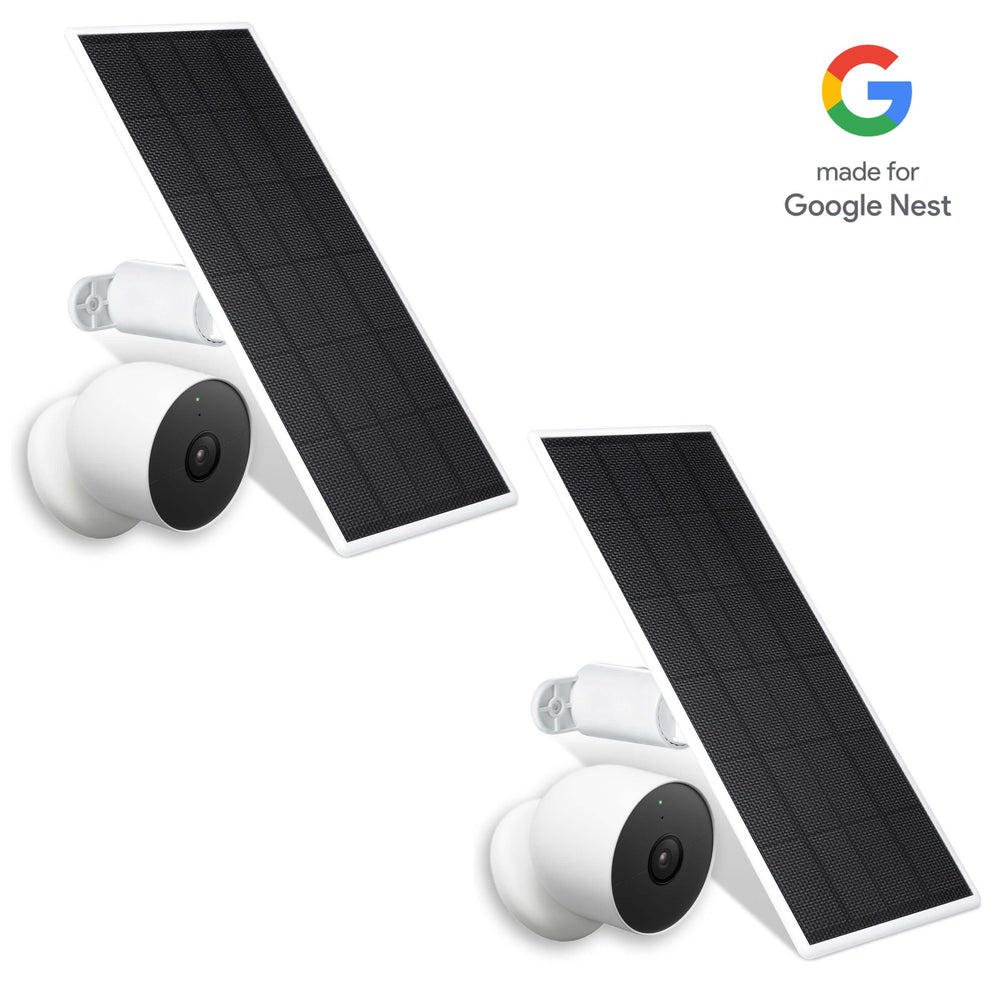
Consider integrating a solar panel for Blink to provide a continuous power source for your camera. This ensures your camera remains operational without the need for battery replacements, making it a cost-effective and sustainable option.
Temperature Alerts
Blink outdoor cameras are designed to withstand challenging weather conditions. However, exposure to extreme temperatures can impact their functionality and longevity and potentially cause damage.

Using the Blink app, you can establish temperature alerts to monitor your camera's temperature and receive notifications when it surpasses or falls below your pre-set values.
To set temperature alerts for your Blink cameras, follow these steps:
-
Open the Blink app on your compatible smartphone or tablet.
-
On the app's main screen, select the Blink camera for which you wish to configure temperature alerts. Tap the settings icon located beside its live view thumbnail.
-
Within the "Monitoring" tab, select "Temperature."
-
Activate the "Temperature Alert" option and adjust the desired temperature thresholds by specifying values for both "Heat Alert Above" and "Cold Alert Above."
FAQ
What sensitivity should I use for Blink camera?
For optimal motion detection with minimal false alarms, start with a moderate sensitivity level and adjust it based on your specific environment and needs.
What is the best night vision setting for Blink?
The best night vision setting depends on your specific environment. In an area with sufficient light, you can reduce the night vision intensity to save power without compromising image quality.
What Internet speed is best for Blink cameras?
A stable internet connection with at least 2 Mbps upload speed is recommended for optimal performance of Blink cameras. However, the exact requirements may vary based on your specific usage and the number of cameras in your setup.
How do I make my Blink video clearer?
To make your Blink video clearer, ensure the camera lens is clean and free from obstructions. Additionally, improve lighting conditions in the monitored area, and select higher resolution settings for better image quality.


Leave a comment