Arlo Pro Battery Not Charging? Common Causes & Easy Fixes
The Arlo Pro is a game-changer in home security, offering a hassle-free setup and an impressive lineup of features. From its 2K HDR video and vibrant color night vision to a powerful 12x zoom and a panoramic 160° field of view, this camera has it all. But, here's the catch: all these state-of-the-art features won't do you any good if your Arlo Pro's battery isn't charging properly. In this guide, we're diving into common issues and sharing simple solutions to ensure your Arlo Pro stays charged and keeps your home safe.
Arlo Pro Battery Charging Issues

While going wireless is incredibly convenient for setup and placement, battery-operated Arlo products like the Pro or Pro 2 do have the same issue with battery life. Normally, Arlo cameras' battery lasts about 3 to 6 months, depending on how much activity it records. However, many users have noticed that their batteries die quicker than expected, leading to frequent replacements.
Compared to other Arlo cameras, the Pro models have the same battery capacity, even though they have power-hungry features like color night vision and higher video quality. When these advanced features are enabled, your battery naturally drains faster.
Some Arlo Pro users have been reporting problems with charging, including the need for constant battery changes, the hassle of replacing batteries, and the need to purchase backup batteries just to avoid any downtime. But these aren't the only charging issues that Arlo Pro users might encounter.
Reasons for Arlo Pro Battery Issues
The reliability of your Arlo Pro cameras is only as good as their battery performance. Charging an Arlo camera is not exactly rocket science, but a faulty power source isn't the only possible culprit behind your charging issues.
Poor Cable Connections
To ensure your Arlo Pro battery charges effectively, it's important to check for proper cable connections. Inspect the cables for any damage, dirt, or debris, and ensure they are securely plugged into both the camera and the power source. Loose or damaged cables can disrupt the charging process.
Direct Sunlight
Direct sunlight can impact the charging of your Arlo Pro battery. While it can be beneficial in some cases, helping recharge the battery when using a compatible solar panel, excessive heat from direct sunlight can have a negative effect. It may lead to overheating, reducing the battery's lifespan. Proper placement of the camera and solar panel is crucial.
Power Outlet Issues
Various power outlet issues can hinder the charging of your Arlo Pro battery. These issues may include faulty outlets, incorrect voltage levels, or an inadequate power supply. It's important to match the voltage of the outlet with the power requirements of the USB charging cable to prevent damage to both the adapter and the camera.
Low Quality Adapters or Cables Used
Using a low-quality or incompatible AC power adapter and cable can negatively affect the charging process of your Arlo Pro camera. These defective accessories can lead to unreliable charging or potential damage. When purchasing cables or adapters, ensure they are compatible with your Arlo camera by checking for the correct USB size and reading reviews for quality assurance.
Incompatible Power Adapter
To maintain seamless functionality of your Arlo camera, it's crucial to use a compatible power adapter. Using an incorrect type of power adapter can lead to charger issues. Always refer to the manufacturer's guidelines for a list of compatible power adapters to ensure optimal performance.
LED Light Not Working Properly
If the Charger Status LED Light isn't working as it should, consult your camera's manual for troubleshooting steps. A malfunctioning LED light can make it hard to monitor charging progress.
Arlo App Issues
Online issues with the Arlo app can disrupt camera charging. Keep your app up-to-date and ensure it functions correctly to avoid connectivity problems that may affect charging.
Troubleshooting Steps to Fix Your Arlo Pro Battery
If you're facing Arlo Pro battery problems, here are some simple steps to get your camera back on track:
Check the Power Adapter

When it comes to the Arlo power adapter, keep an eye on the following:
-
Look for the QC 2.0 symbol on the adapter that came with your camera, which is represented by a lightning bolt at the top of the frame.
-
Verify that the voltage output is 9V=1.1A.
-
Ensure there's an Arlo logo on the adapter.
If your power adapter isn't an original one, consider replacing it with a compatible new one. If it matches the specifications needed, take the following steps to troubleshoot:
-
Test the power adapter by plugging it on a different camera, making sure it's fully inserted. If it works without issues, the problem is with the camera you initially attempted to charge.
-
Alternatively, try using a different Arlo power adapter to charge your camera's battery properly.
Inspect the Battery

-
Remove the battery.
-
If it's connected to the power adapter cable, unplug it.
-
Plug in the AC adapter to your camera a few times. Make sure to use the correct adapter and cord, not a standard 5V USB cable.
-
Reinstall the camera's battery back in carefully.
-
Wait for 10 minutes, then check your camera's status using the Arlo app or my.arlo.com.
-
Repeat steps 4 and 5 until you see a lightning bolt icon on the Arlo app.
-
If the lightning bolt doesn't appear after trying these steps multiple times, contact Arlo Support for help.
Check the LED Light

-
The Arlo camera's LED is a slow-blinking amber when the camera battery is low and solid blue when fully charged, at which point you can disconnect it.
-
Charging usually takes 2-3 hours, depending on speed.
-
If the LED blinks amber, the battery is not charging. Just take it out and put it back in, making sure it's aligned properly. Do note that the "Battery Fully Charged" LED message can be turned on and off in Device Settings.
Do a Factory Reset
If none of the previous solutions worked, you might need to do a factory reset. This can be done in two ways: from your Arlo account while the camera is connected to the cloud or with the Sync button if it is offline.
To perform a factory reset on your camera while it's connected to the cloud, follow these steps:
-
Open the Arlo Secure App or log in to your Arlo account at my.arlo.com.
-
Go to "Devices."
-
Select the camera you want to reset.
-
Click on the "Gear" icon.
-
Choose "Device Name."
-
Click "Remove Device."
-
Confirm by clicking "Yes" to remove the camera from your account.
-
Return to the Devices page, ensuring you're in the correct Location.
-
Click the "+" icon.
-
Pick your Arlo device.
-
Follow the on-screen instructions to reconnect your camera to your Wi-Fi network, SmartHub, or Base Station.
To perform a factory reset on your camera when it's offline, follow these steps:
Note: If your camera is offline due to a low battery, charge it before proceeding with the factory reset.
-
Find the Sync button on your camera:
-
For certain models, release the camera from its housing to access the Sync button.
-
For other models, locate the Sync button on the camera housing.
-
Hold the Sync button for about 15 seconds until the camera's LED blinks blue, then release it.
-
For Essential Wire-Free cameras, make sure the LED blinks amber three times. The reset may take 15 to 45 seconds.
-
Open the Arlo Secure App or log in to your Arlo account at my.arlo.com.
-
Go to "Devices."
-
Select the camera you want to reset.
-
Click the appropriate icon.
-
Choose "Device Name."
-
Click "Remove Device."
-
Confirm by clicking "Yes" to remove the camera from your account.
-
Return to the Devices page, making sure you're in the correct Location.
-
Click the appropriate icon.
-
Select your Arlo device.
-
Follow the on-screen instructions to reconnect the camera to your Wi-Fi network, SmartHub, or Base Station.
-
If needed, reinsert the camera into its housing until it clicks into place.
How to Ensure Your Arlo Camera Battery Will Keep Charging
If you want to ensure your Arlo Pro or Arlo Ultra stays powered up, you can make use of various accessories for Arlo devices.
Use a Weatherproof Quick Charge Power Adapter

Skip the hassle of having to go outside to change the batteries of your Arlo camera every once in a while with the Wasserstein magnetic charging cable w/ quick charge adapter. It's designed to directly connect your camera to a constant power source, eliminating the downtime caused by frequent battery swaps.
Set Up a Solar Panel Charging System

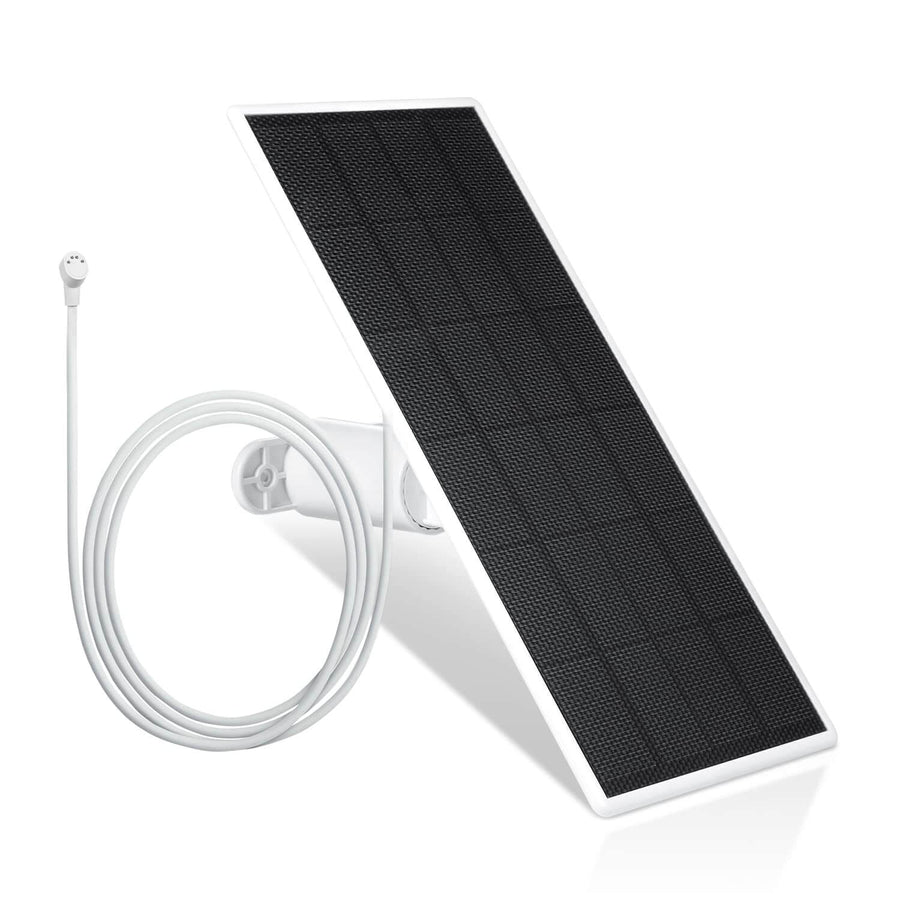
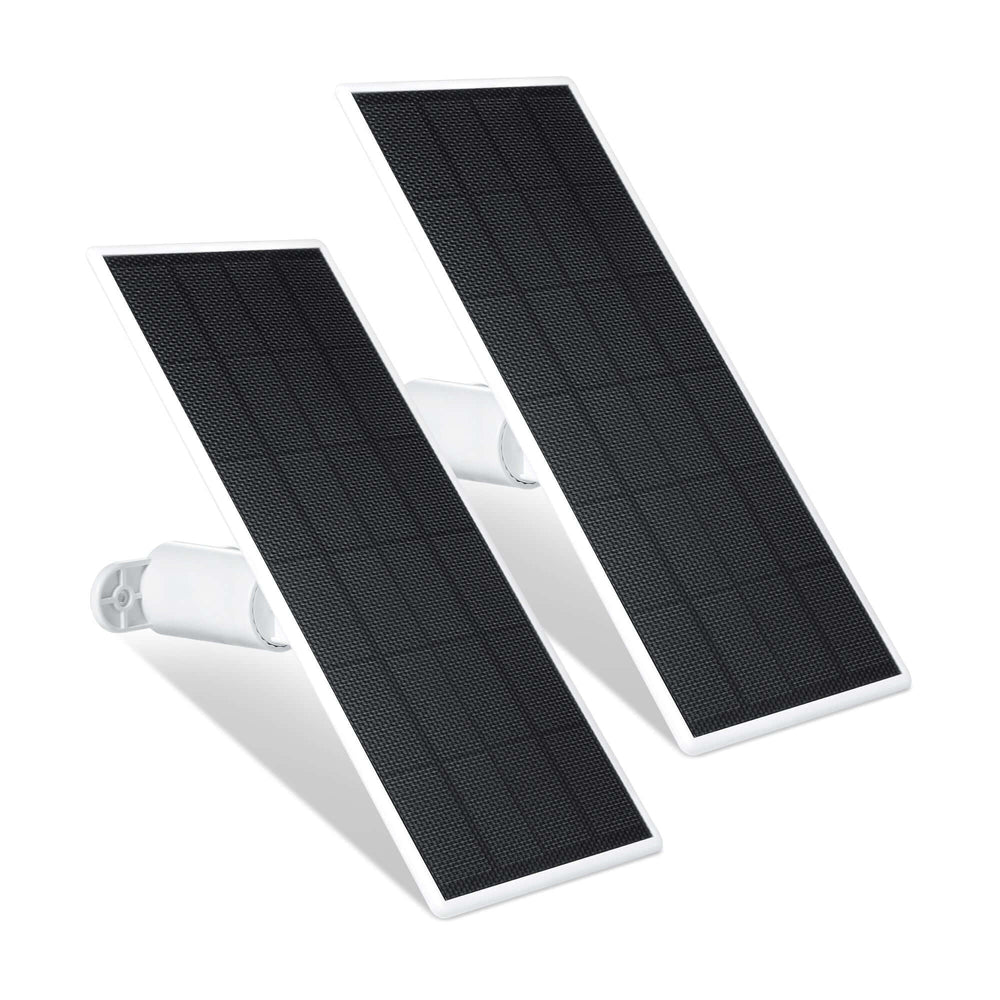
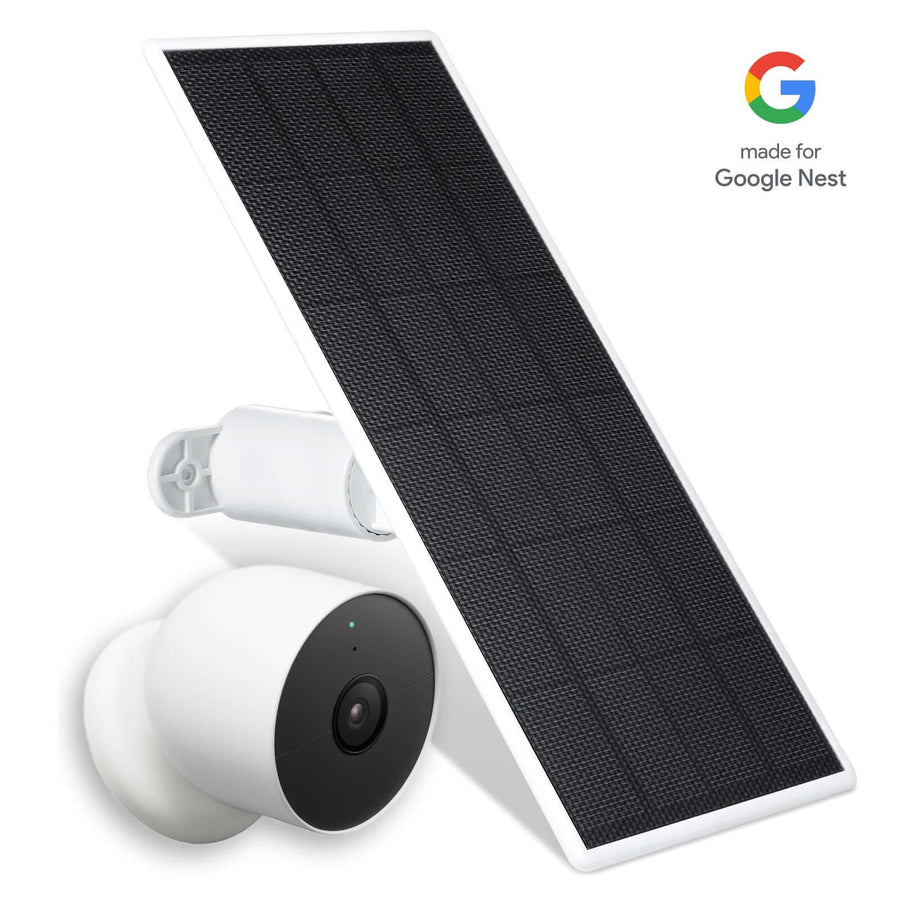
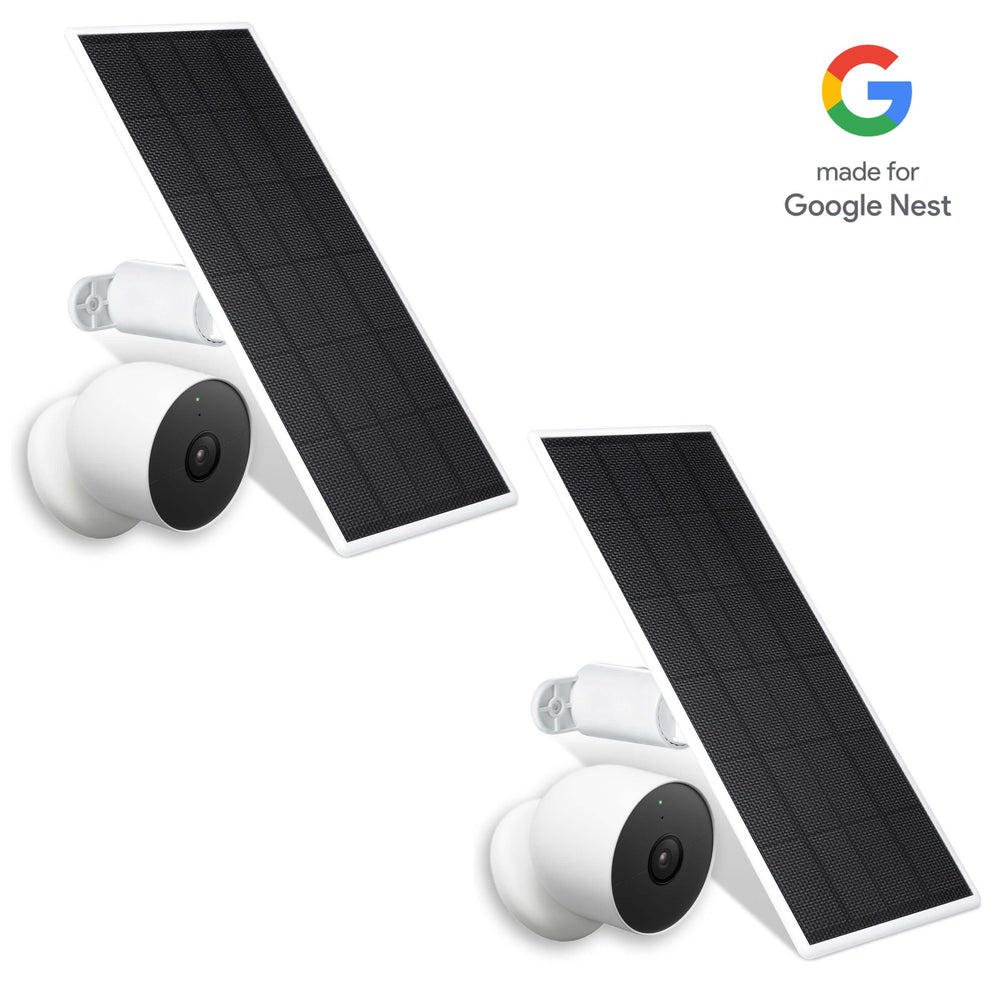
The Wasserstein solar panel for Arlo comes with an outdoor magnetic charging cable to make sure that your surveillance camera does not run out of juice ever again. Its unique 360-degree mount and 13ft/4m weatherproof cable allow flexible mounting options for maximum sunlight exposure. Plus, it's cheaper than an Arlo charging station.
FAQ
How do I know if Arlo Pro is charging?
The Arlo Pro camera is charging when the LED indicator on the camera is blinking a blue light. It will turn solid blue when the battery is fully charged.
How do I reset my Arlo Pro battery?
To reset the Arlo Pro battery, locate the Reset button on your Arlo base station, press and hold it for 10 seconds, and wait for the station to reboot.
Why is my Arlo Pro 2 battery not charging?
If your Arlo Pro 2 battery is not charging, check the power adapter, cable connections, and outlet compatibility. Ensure you are using the correct adapter and cable, and verify that the outlet's voltage matches the adapter's requirements.


Bought a 3 pack for my arlo 4 pros and only one charges at all. The other two do not work at all no matter where they are punted or how much direct sun they are getting.
I purchased four solar panels and from day one, they will not charge correctly, I get messages that say incompatible charger connected. When they do charge they never keep the battery at 100%, they drop down to 35% very quickly, I purchased these so I would not need to change batteries. I have even charged the batteries fully and then connected the panels hoping this would help but it does not. How can these not be working correctly?
I bought the 16ft outdoor charging cable for my Arlo pro 3 floodlight camera, but the Arlo doesn’t seem to recognize it as an outdoor cable. It charges it, but no video while it is plugged in outdoors. I get the same screen as I would charging it indoors.
Hi, I recently purchased a two pack wasserstein solar panel for arlo ultra. Unfortunately, only one panel is holding the battery charge. Both batteries were 100% when placed in the cameras and the solar panels were connected immediately. I can’t find any trouble shooting steps on your site. Do you have any recommendations? Thank you. Eric
Just purchased the Arlo Pro 3 with four cameras. Two batteries charged with no issues, the other two seem to be charging but “the percentage” indicator remains constant at 48% and 49%. The blue light blinks when attached to the cable and then stays on constant. I dont know what to think of this and I dont see any info that specifically deals with this issue. I think they are charged but the level of charge is anyones guess. Any ideas?
Leave a comment