How to Install Blink Doorbell — 8 Easy Steps to Follow
The Blink Video Doorbell is Blink's answer to Wyze's $90 wireless doorbell and Ring's $100 model. With 1080p HD video quality, 135-degree horizontal, 80-degree vertical, two-way audio, an option for a chime connection, and seamless compatibility with Amazon Alexa, this $60 device is one of the most affordable and feature-packed doorbell cameras on the market today. In this guide, we'll walk you through the simple steps to get your Blink Doorbell up and running.
Equipment You'll Need
Before we dive into the installation process, let's make sure you have all the necessary tools and materials:
-
Blink Doorbell Package: Inside the Blink Doorbell package, you should find the doorbell unit, a mounting bracket, screws, anchors, a USB cable, and a setup guide.
-
Tools: You'll need tape to hold the template in place, a screwdriver, a drill, a clear plastic accessory bag (contains screws and wall anchors), and 3/32-inch and 7/32-inch drill bits.
-
Smartphone: You'll need a smartphone with the Blink Home Monitor app installed for the setup and configuration.
-
Power Source: Depending on your installation choice, you may need two AA lithium batteries or a Wasserstein solar charger and mount.
Now that you have all the necessary equipment, let's proceed with the installation.
How to Install Blink Doorbell Camera: Step-by-Step Process
Before installation, verify with the app that the camera is positioned at an ideal angle, offering a clear view of your door and essential areas around your home's front. You have the choice of a hardwired or wireless installation method. In the wired setup, Blink replaces your existing doorbell and sources power from your home. Alternatively, the wireless method utilizes the Video Doorbell chime. In both cases, the Video Doorbell primarily relies on the provided batteries for power.
Step 1: Download the Blink App and Create an Account
Begin the installation process by downloading the Blink app on your smartphone. If you plan to link your system to Alexa in the future, it's a good idea to create a Blink account right away.
Creating your Blink account is a straightforward process:
-
The app will ask for your country and email, as well as for you to set a password.
-
Two-factor authentication is turned on by default, so you'll need to enter your phone number and the verification code you receive.
-
Fill in the details to connect your Amazon account with your new Blink account.
Step 2: Add Your Video Doorbell

-
Start by installing the 2 AA 1.5-volt lithium non-rechargeable batteries into the Video Doorbell.
-
Open the Blink app on your smartphone.
-
On the app's main screen, look for and tap "Add device," usually found in the top right corner.
-
Use your phone's camera to scan the doorbell's QR code.
-
If you already have a system set up, choose it. If not, create a new system as required.
-
The app will guide you through connecting to your Video Doorbell's "BLINK" network and then to your Wi-Fi network.
-
Follow the remaining instructions in the app to finish the setup, where you can adjust settings to meet your preferences.
Step 3: Scan the QR code

The QR code can be found beneath the backplate, alongside the battery slots. Be sure you're in a place with good lighting so that the camera can properly capture the code.
Step 4: Select or Create Your System

If you already have a Blink camera or system in place, you can opt to add the Doorbell to your existing home system. But if this is your first time setting up a Blink device, you'll have to establish a new home system. A system is just the title for the bundle of Blink security products and their combined alarm settings. For instance, you can label your system "Home".
Step 5: (Optional) Add your Sync Module

If you plan on having multiple Blink cameras installed, you will need a Sync Module. If you already have a Sync Module in your system, skip to the next step. If not, proceed with adding one:
-
On the Home screen of the Blink app, tap the "+" icon to add a new device.
-
On the Add Device screen, select "Sync Module."
-
Scan the QR code on the back of the Sync Module or manually enter the serial number. If the app requests access to your camera, allow it.
-
Once the serial number is recognized, you'll be asked to create a new system. Provide a unique name for your system. If you have other systems, make sure this name is different. Tap "Continue" after entering the new system name.
-
The Blink app will use your mobile device to connect to the Sync Module's temporary Wi-Fi network, named “BLINK-_ _" where the last 4 digits are from your Sync Module's serial number. Tap "Join" to connect.
-
After successfully joining the Sync Module's temporary network, you'll be prompted to join your local Wi-Fi network. Enter your Wi-Fi password and tap "Join."
-
If you don't see your local Wi-Fi network, tap "Refresh List" at the bottom of the screen.
-
Once your Sync Module has been added to your new system, a completion screen will appear. Tap "Done" to finish the process.
Now you're ready to add your new Blink camera. The Blink system name will display at the top of your Home screen, and you'll also see the Sync Module with a green connection line, indicating successful communication with the Blink servers.
Step 6: Turn on Power

Insert the included batteries into the back of the doorbell where the QR code was. Once the batteries are in, the Doorbell button will light up and start blinking red.
Step 7: Connect to Wi-Fi
Most phones will show a pop-up, asking if you want to connect to the "Blink XXXX" Wi-Fi network. If your phone doesn't show a pop-up, go to your settings and connect to that network. After you've joined, return to the Blink app.
In the app, you can go ahead and customize the settings based on your preferences, including motion detection sensitivity, notification schedules, chime settings, and much more.
Step 8: Mount Blink Video Doorbell

Now that you've completed the setup, it's time to install the doorbell. But before you do that, ensure the Doorbell is positioned at an ideal angle, close to your door, and has a clear view of essential areas around your home. You can choose either a wired or wireless installation method.
For a hardwired installation, you can use the existing doorbell wiring in your home if you already have a doorbell. Simply remove the old doorbell, and you'll find the exposed wires ready for use. Attach these wires to the two leads on the back of the base plate. The app will guide you through additional steps for configuring the doorbell with your chime, whether it's a mechanical or digital one.
If you opt for a wireless installation, follow the same steps as mentioned above. In this case, the doorbell will be powered by the included batteries, making it a wireless setup. The flexibility of choosing between hardwired and wireless installations allows you to tailor the Blink Doorbell to your specific needs and existing infrastructure.
Use the provided backplates to attach the Blink Doorbell and any additional mounts or wedges you desire. Depending on your home's exterior, a power drill is likely necessary for completing the installation steps. Once connected to Wi-Fi, the app will prompt you to select your preferred method for mounting and will guide you through the Blink Video Doorbell installation process.
Mounting Options for Your Blink Doorbell
Depending on your needs, there are alternative mounting choices available for your Blink video doorbell beyond the standard one included in the kit:
Corner & Wedge Mount
The wedge and corner mounts, which may come with your package or can be purchased separately, serve to adjust the view of your doorbell. They are especially useful when your available mounting surface is angled or when you want to change the perspective.
-
The Wedge Mount tilts the view 5 degrees up or down.
-
The Corner Mount adjusts the view by 25 degrees side to side.
Understanding Viewing Angles: The camera in the doorbell captures a field of view that extends straight out from the mounting surface. If the image isn't capturing the view you desire, the Wedge Mount offers a 5-degree vertical tilt, while the Corner Mount provides a 25-degree horizontal tilt. These mounts help you achieve the right perspective.

Third-party wedge mounts like the Wasserstein Horizontal Angle Adjustable Mount give a 35° to 55° angle on your Blink Video Doorbell, ensuring your camera captures the area you want while providing you with a more customized surveillance experience.
Apartment Mount
Apartment mounts are an excellent choice if you're renting and can't drill holes in your walls. The Wasserstein Anti-Theft Mount for Blink Video Doorbell for instance latches on to the edge of your door for a no-drill installation. It can be positioned in two ways depending on which side your door is on, and can easily be repositioned with its adjustable clamp.

Other no-drill mounts from Wasserstein include the wall mount with ultra-sticky adhesive and the Vinyl Sliding Doorbell Mount.
Solar Charger and Mount

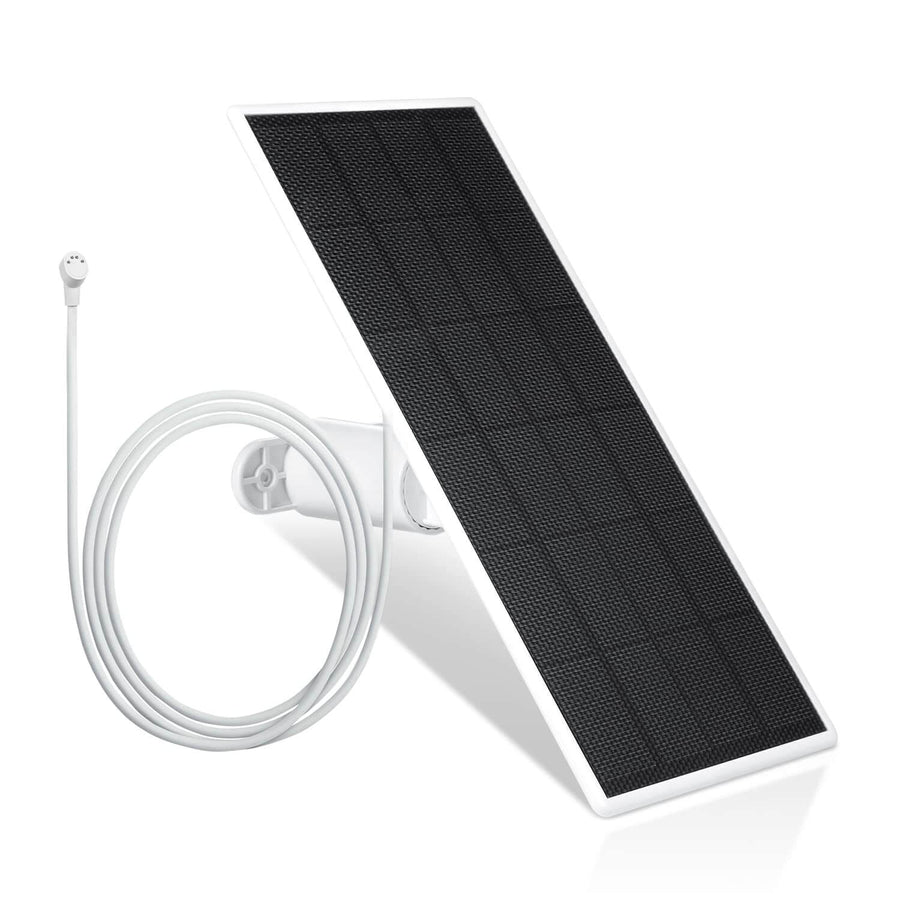
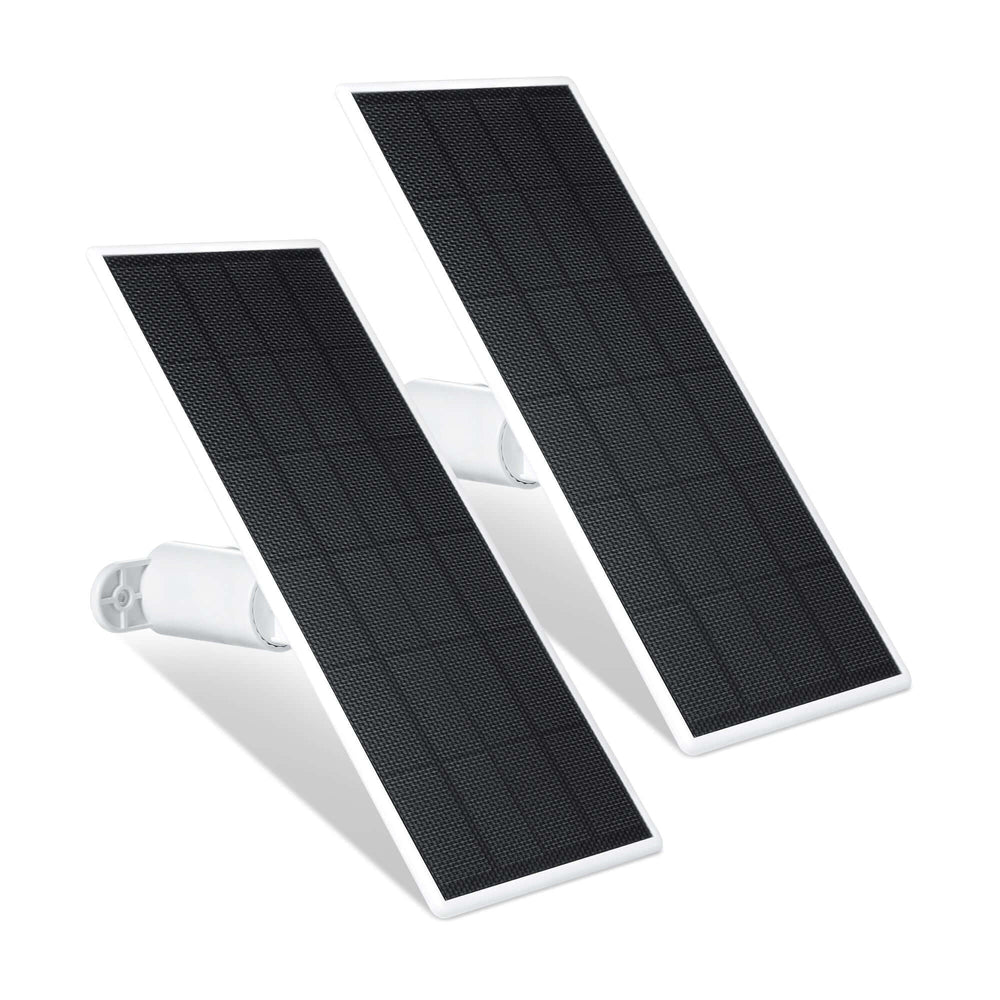
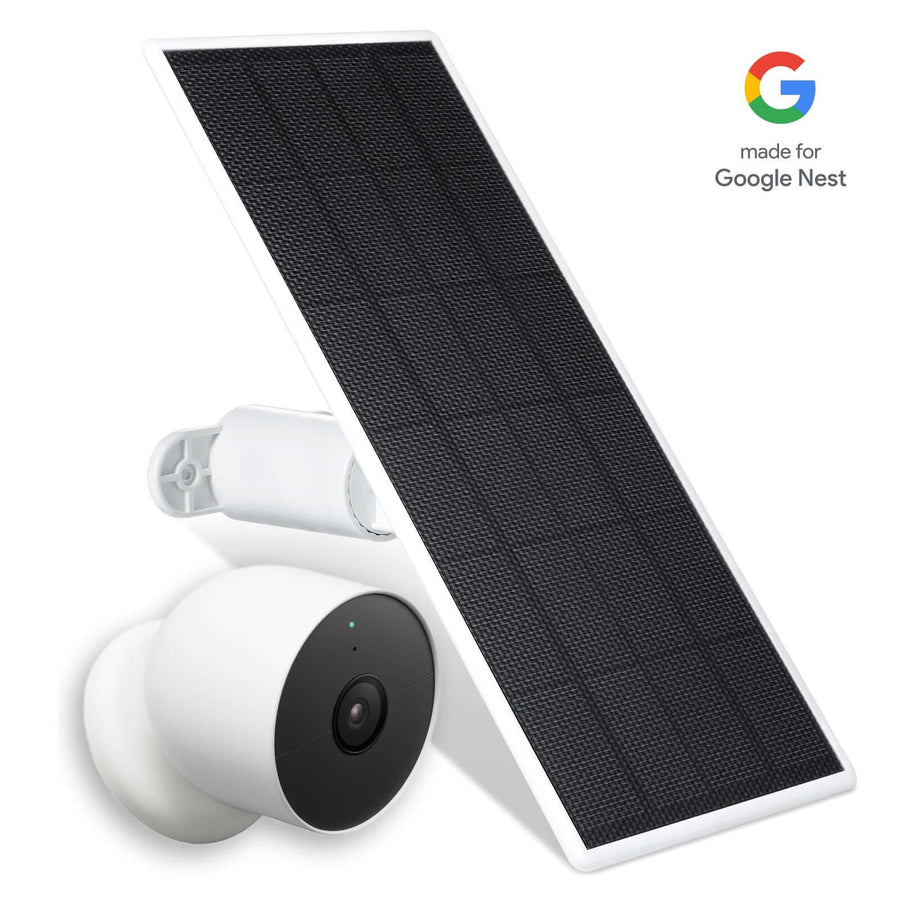
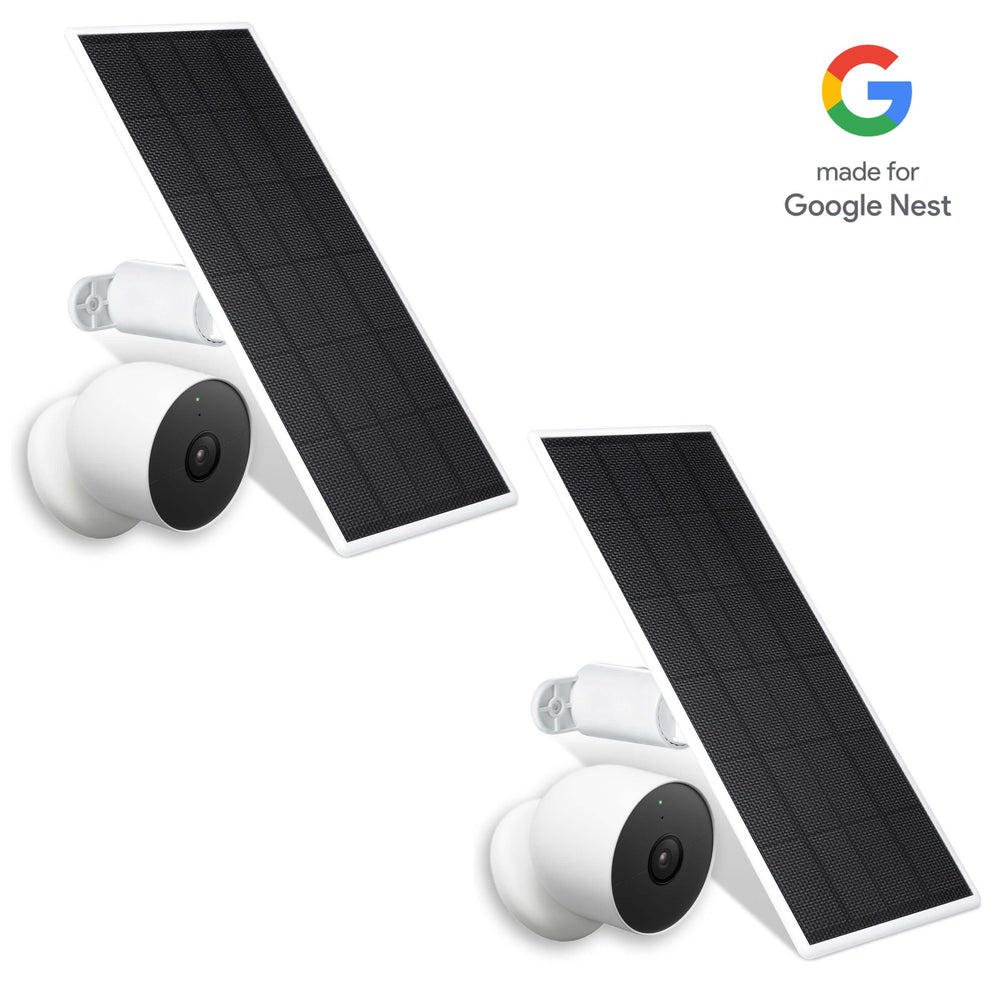
With two AA lithium batteries, quickly setting up and using your Blink Video Doorbell is about as hassle-free as it gets. The downside is that you’ll have to change batteries at least every 3 months. The Wasserstein solar charger and mount can prevent this downtime and frequent battery swaps. It’s equipped with a 2,000 mAh battery, so you can power your doorbell continuously.
How to Install Blink Doorbell on Brick Without Drilling
To install the Blink Doorbell on a brick surface without the need for drilling, you'll need specific materials. Here's a list of what you'll require:
-
Mounting Tape: This adhesive tape securely attaches to the brick without causing any damage.
-
Alcohol Wipes: These wipes are used to clean the brick surface, ensuring a smooth installation.
-
Screwdriver: It's handy for removing any existing screws or fasteners from the door frame.
-
Blink Doorbell Kit: This kit includes the doorbell unit, batteries, and installation instructions.
Step 1: Prepare the Brick Surface
-
Check the brick surface for any cracks or loose bricks.
-
Use a brush or broom to remove dirt and debris.
-
Test the adhesive's strength on a hidden area of the brick to make sure it sticks well.
-
Apply adhesive to the back of the mounting bracket following the provided instructions.
-
Place the mounting bracket on the brick and press it firmly.
-
Allow time for the adhesive to dry before attaching the Blink Doorbell.
Step 2: Mount the Blink Doorbell
-
Find an adhesive designed for outdoor use to withstand different weather conditions.
-
Clean the area where you want to attach the doorbell with a mild detergent or cleaner.
-
Apply a good amount of adhesive to the back of the doorbell.
-
Position the doorbell on the wall and press it firmly in place.
-
Wait for 24 hours to let the adhesive set.
-
Test the doorbell's functionality to make sure it's working correctly.
FAQ
How do you install a Blink Doorbell door mount?
-
Place the doorbell inside the housing, ensuring it fits snugly against the front plate.
-
Use the four long screws provided to secure the front plate to the backplate. Screw them in firmly.
-
Secure the metal mount to the plastic housing using the four short screws included. You have two different positions to choose from based on your mounting preference.
-
Position the metal mount on your door where you want to install the doorbell. Secure it in place by tightening the back clamping knob.
Do I need a drill to install the Blink Doorbell?
No, you do not need a drill to install the Blink Doorbell. You can use no-drill mounts like the Wasserstein anti-theft mount for Blink Video Doorbell, the wall mount with ultra-sticky adhesive, and the vinyl sliding doorbell mount.
Do you need a mounting kit for the Blink Doorbell?
The Blink Doorbell typically comes with a mounting kit included, so there's no need to buy a separate one. Everything you need for installation is usually provided in the package.
Can you stick Blink Doorbell to the door?
Yes, you can attach the Blink Doorbell to a door without drilling. It can be affixed to the door using adhesive or mounting tape, preserving the door's surface.
What drill bit to use for Blink Doorbell?
For installing the Blink Doorbell, it's recommended to use a 7/32-inch (5.41 mm) drill bit when dealing with specific wall materials. This ensures a secure and proper installation.


Leave a comment