Ring Solar Panel Not Charging? Follow These Steps to Fix It
Ring security cameras are some of the most versatile you can get in the market these days, with options for hardwired, wireless, and solar power installation.
Starting at just $99.99 with the Stick Up Cam, you'll get motion sensors, 1080p video recording, and the coveted color night vision - a feature that's missing even in more expensive cameras.
Most Ring devices, including the Ring Video Doorbell, Spotlight Cam, and Stick Up Cam, are powered by the Ring quick-release battery pack, a rechargeable lithium-ion battery pack offering up to 6 months of battery life, depending on your camera model and motion events.

The good thing about wireless Ring devices is that you can have a second battery pack for instant swaps when the main Ring battery has low power and needs a recharge.
While battery-powered security cams offer great convenience in terms of mounting, going wire-free means downtime every time the battery drains out.
Not every one of us has the patience to routinely check our devices' battery levels, and we can't afford to have dead security cams for an extended period either.
The solution? Ring solar panels!
Hooking up your Ring camera to a solar panel ensures 24/7 power and non-stop monitoring of your property.
The solar panel charges your Ring battery during the day, so it won't be left chargeless in the evening.
However, though promising, Ring solar panels are not meant to replace charging and are not flawless per se.
Sometimes, your solar power device may not be working as it's supposed to.
Let's discuss the possible reasons and their fixes.
Common Reasons Why your Ring Solar Panel isn't Working
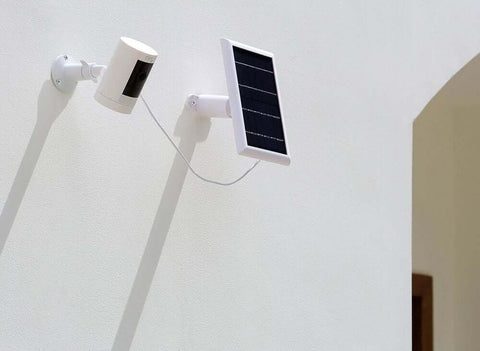
The Ring Solar Panel is an excellent addition to your Ring Doorbell camera or Security Camera, providing a continuous charge to keep your device powered without the need for frequent battery swaps.
However, there may be times when your Ring Solar Panel isn't working as expected. Here are some common reasons why your Ring Solar Panel may not be working:
- Insufficient Sunlight: The Ring Solar Panel requires direct sunlight to work properly. If the panel is located in a shaded area or is obstructed by objects such as trees, buildings, or debris, it may not receive enough direct sunlight to provide a charge.
- Dirty or Damaged Solar Panel: Over time, the solar panel on your Ring Solar Panel may become dirty or damaged, which can affect its ability to generate power. Clean the solar panel regularly with a soft, dry cloth and ensure it is free from any cracks, damage, or blockages inside.
- Faulty Connection: The connection between the Ring Solar Panel and your Ring device may be damaged - or there is a loose wire preventing the charge from being delivered properly. Check the connection and ensure it is secure and free from any damage.
- Power Outlet Issues: If you are using a plug-in version of the Ring Solar Panel, it may not receive power from the outlet. Check the outlet and ensure it is working properly.
- Battery Issues: If your Ring device's battery is already fully charged, the Ring Solar Panel may not provide any additional charge. Additionally, if your Ring device's battery is damaged or not functioning properly, it may not be able to hold a charge from the Ring Solar Panel.
- Weather Conditions: If it's cloudy or rainy outside, the Ring Solar Panel may not be able to generate enough power to charge your device. Wait for suitable weather conditions.
- Firmware updates: If your Ring device is not running the latest firmware, it may not be able to properly communicate with the Ring Solar Panel. Make sure that your Ring device is running the latest firmware.
- Interference: Nearby WiFi networks or other electronic devices may interfere with the signal between your Ring device and the Ring Solar Panel, preventing it from charging properly.
Ring Solar Panel Not Charging? 8 Quick Fixes
Provide Enough Sunlight

Check the placement. Choose a location for your Ring Solar Panel that receives direct sunlight for several hours each day.
Ideally, the panel should be placed in an area that receives enough sunlight for most of the day, such as a south-facing wall or roof.
Make sure that your Ring Solar Panel is not obstructed by objects such as trees, buildings, or debris that may cast shade on the panel.
Find the best angle hit by sunlight. The rule of thumb is that the tilt angle should equal the location's latitude for optimal performance.
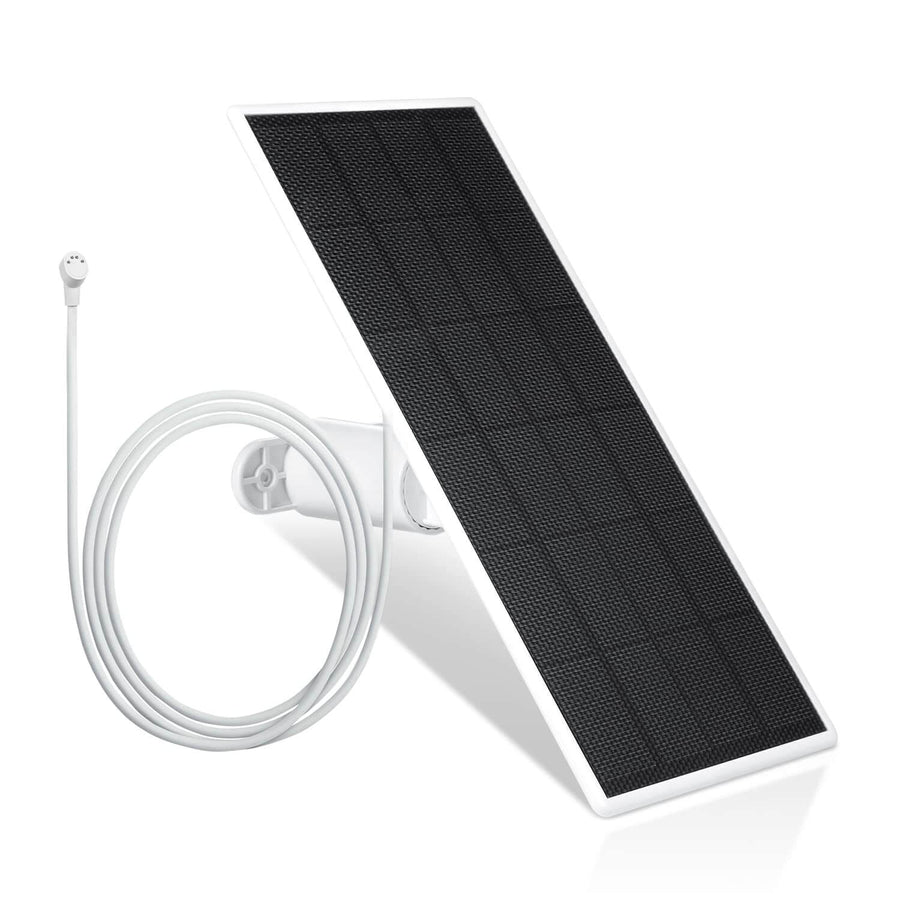
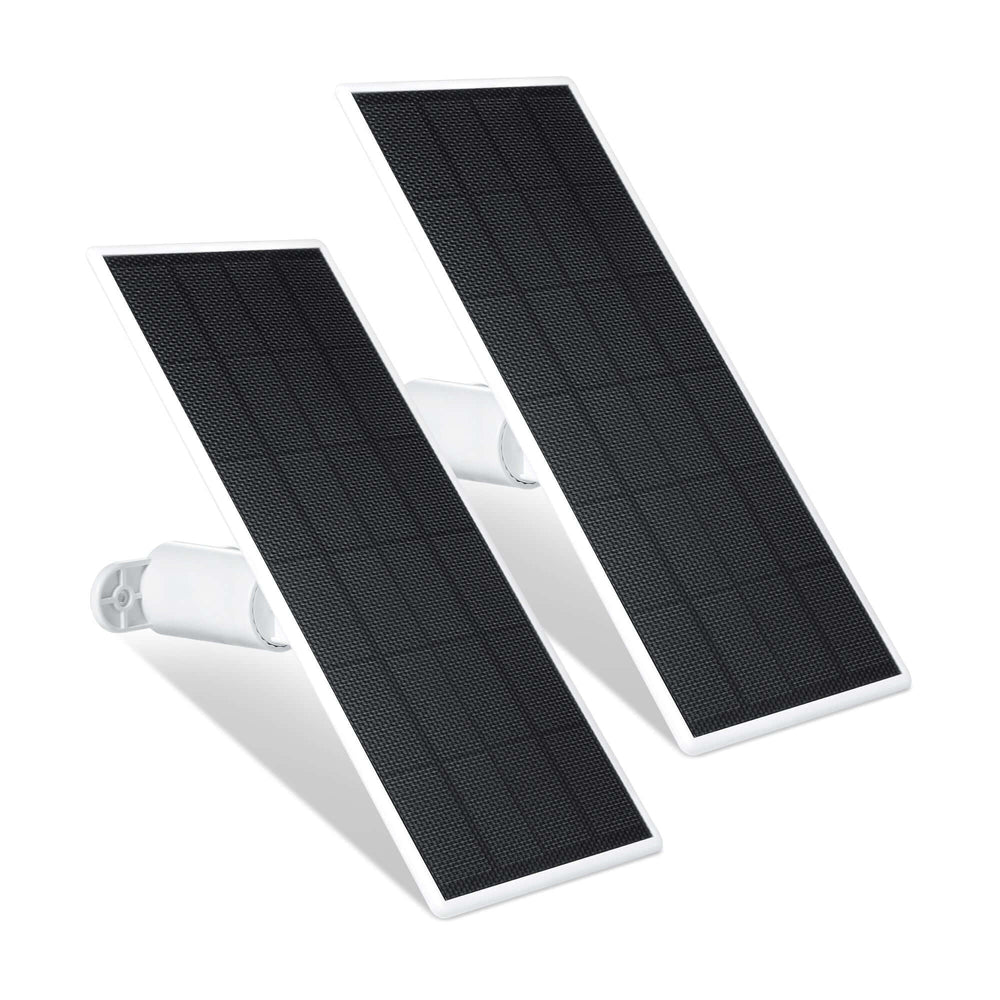
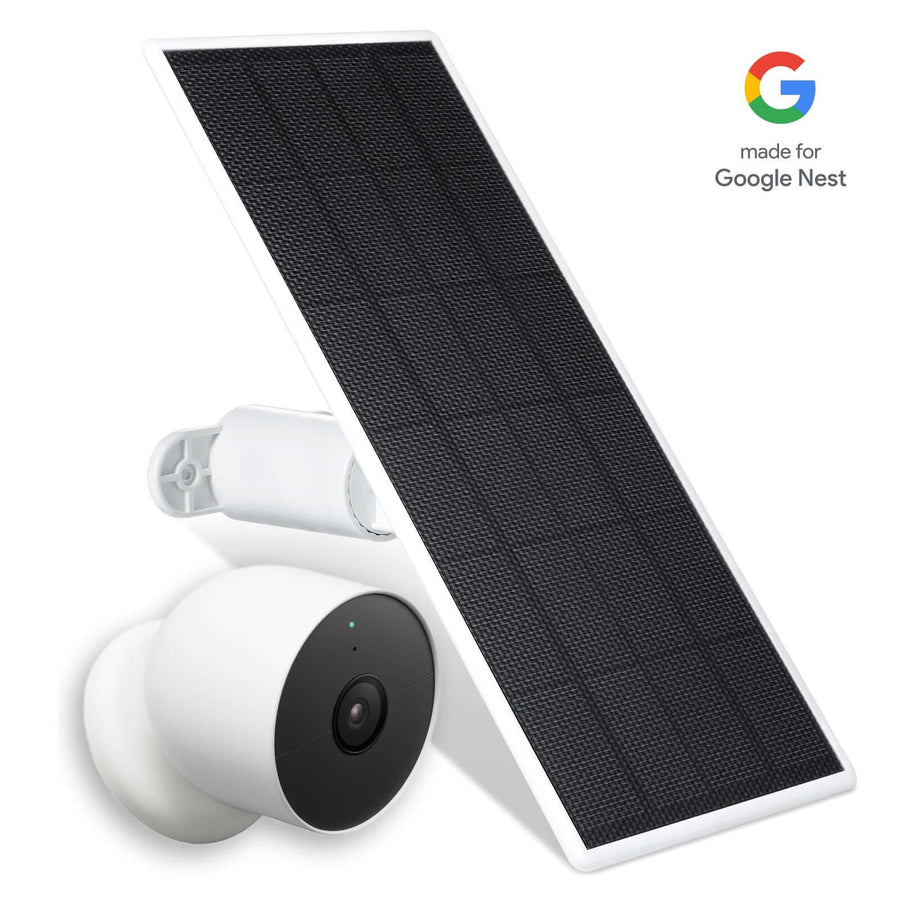
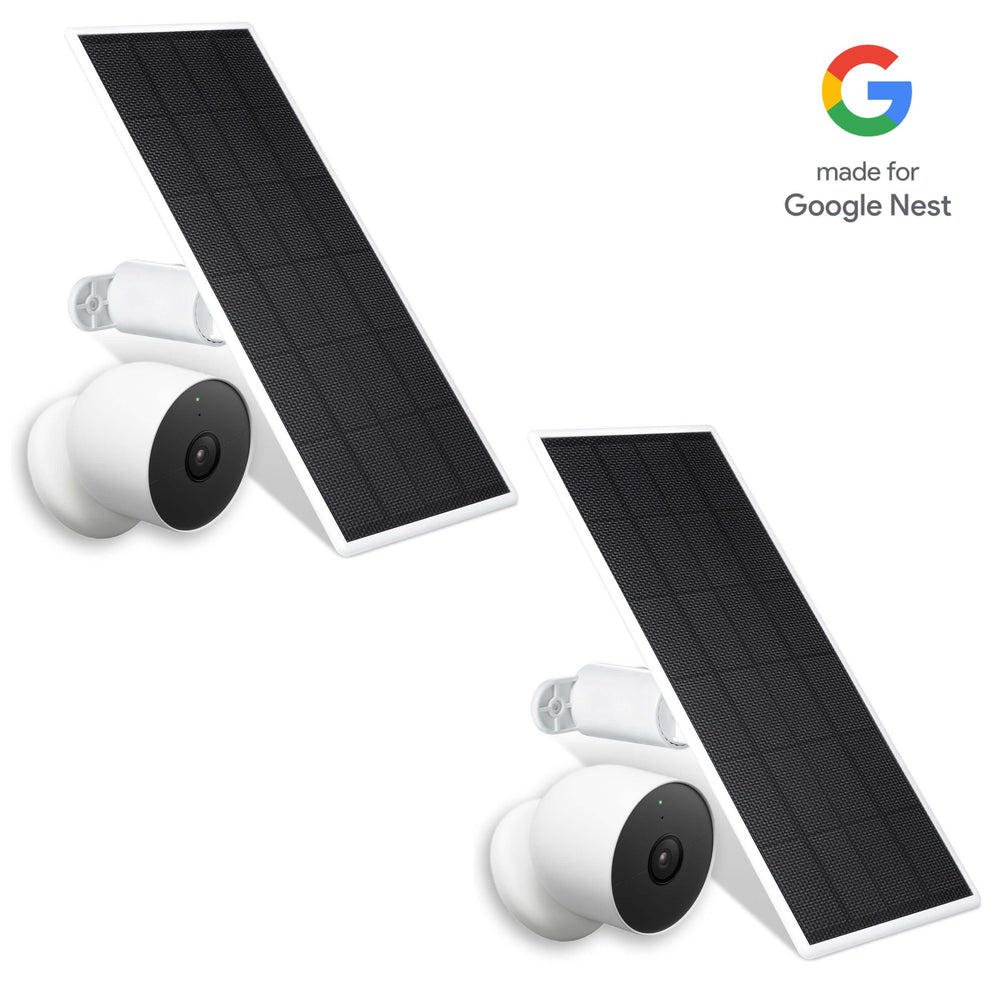
Luckily, Wasserstein's line of Ring solar panels uses a unique 360-degree wall mount for easy positioning.
Check the Solar Panel Compatibility

Unfortunately, not all Ring devices can be connected to a solar panel.
So, it's important that you check your camera's compatibility with it.
Here are some tips to help you check the compatibility of your Ring Solar Panel:
- Visit the Ring website and look for information about the compatibility of your Ring device with the Ring Solar Panel. The website will provide a list of compatible devices.
- Check the product manual that came with your Ring device to see if it is compatible with a Ring Solar Panel. The manual will provide information about the specific Ring Solar Panels compatible with your device.
Check the Solar Panel for Defects
Over time, your solar panel may become dirty or damaged, affecting its ability to generate power.
So, it's important that you check it for possible defects.
- Inspect the solar panel on your Ring Solar Panel for any cracks, scratches, or other signs of damage. If the solar panel is damaged, it may not be able to generate power properly.
- Use a soft, dry cloth to clean the solar panel regularly to ensure that it is free from dirt and debris inside that may reduce its efficiency. By manually detaching the panels, you can check if there's any blockage inside.
- Use a multimeter to measure the voltage and current output of the panel. If the numbers are lower than expected, check the device’s health to see if it's defective. In this case, you might need a new solar panel.
Check the Wires
The wire plug that connects your device to the solar panel is the third most important part of the set-up next to your camera and the solar panel itself.
Using the wrong wires or any damage to the connection will render your solar power device useless.
- Inspect the wires that connect the Ring Solar Panel to your Ring device for any signs of damage or wear. Look for cuts, frayed wires, or other signs of damage.
- Make sure that the right wires are connected to your Ring device and the Ring Solar Panel. If you've got some loose wires, the panel may not be able to charge your device properly.
- If the wires are damaged or worn, you may need to replace them. Contact Ring customer service or a professional electrician if you're unsure about replacing the wires yourself.
- Use a multimeter to check the voltage and current output of the wires. If the numbers are lower than expected, the wires may be damaged or not properly connected.
Reboot your Connected Device
A reboot is an easy fix for any device that's not working properly.
This helps clear any software issues preventing your camera from connecting to the solar panel.
- Unplug your Ring device from the solar panel and pop off the battery pack.
- Wait for at least 30 seconds before reinserting the battery pack and plugging the device into the solar panel. This will give the device time to fully power down and reset.
- Reinsert the battery pack and plug your Ring device back in. Wait for it to fully power on. This may take a few minutes, depending on the device.
- Open the Ring app and check to see if the Ring Solar Panel is now working properly. You may need to reset the connection between the Ring device and the Ring Solar Panel.
Check the Battery Level
If you've got your Ring battery fully charged, the solar panel won't be supplying any additional power.
Ring says that the solar panel will only begin to charge your camera once its battery level drops below 90%.
Until then, your security camera will rely on its stored power.
Here's how you can check your battery percentage.
- Open the Ring app on your mobile device.
- Select the Ring device that is connected to your Ring Solar Panel.
- Look for the battery level icon in the app, which will show you the current battery level of your Ring device. If the battery is already fully charged, the Ring Solar Panel won't provide any additional charge.
- Check the battery health in the app to ensure that the battery is functioning properly. If the battery’s health is poor, you may need to replace the battery.
- Monitor the battery level regularly to ensure your Ring device receives a continuous charge from the Ring Solar Panel.
Reinstall the Ring Solar Panel
Another quick fix is to reinstall the solar panel.
Sometimes, the panel may not be properly connected or installed, which can prevent it from supplying power.
- Unplug the device connected to the solar panel.
- Remove the mounting bracket.
- If the mounting bracket is damaged or worn, replace it with a new one. Make sure that the bracket is securely attached to the wall or other surface.
- Reconnect the panel to your device.
- Make sure that the solar panel is properly connected to your device. If it's loose or damaged, you may need to replace the cable.
- Test the panel by checking the charging if your device is receiving continuous charge from the panel.
Contact the support team
If none of the abovementioned fixes works for you, contact support.
FAQ
How do you know if Ring solar panel charger is not working?
To know if your Ring solar panel is not working, check for signs like consistently low battery level, absence of green light and charging notification, inconsistent charging, and damaged or worn cables.
How do I get my Ring solar charger to work?
There are several fixes you can try to get your solar charger to work. Please refer to the 8 Quick Fixes section of this blog.
How do I reset my solar panel Ring?
- Unplug any device connected to the Ring Solar Panel.
- Wait for at least 30 seconds before plugging it back in.
- Plug the Ring Solar Panel back in and wait for the device to fully power on.
-
Check the Ring app to see if the Ring Solar Panel is now working properly.
Note: Your solar panel will only show as connected in the app while it has stored power.
How long does it take for a Ring solar panel to charge?
Ring recommends at least 3 to 4 hours of direct sunlight.
Wasserstein Ring solar panels are equipped with efficient solar cells that require minimal sunlight exposure to power your Ring devices.


Leave a comment