How to Set Up the Wasserstein Doorbell Chime with Google Nest Doorbell
The Google Nest Doorbell has become a friendly face of security. It's not just a doorbell; it's there to keep an eye on your home. But what good is a vigilant observer without a friendly way to announce your guests?
That's where the Wasserstein Doorbell Chime comes in, making your doorbell more than just a silent button. It's the musical signal that lets you know when someone's at your door, so you don't have to constantly monitor your phone for notifications. In this guide, we'll show you how to set up the Wasserstein Doorbell Chime to complete your home security system.
Before You Begin:
Before you start, ensure that you have the following items:
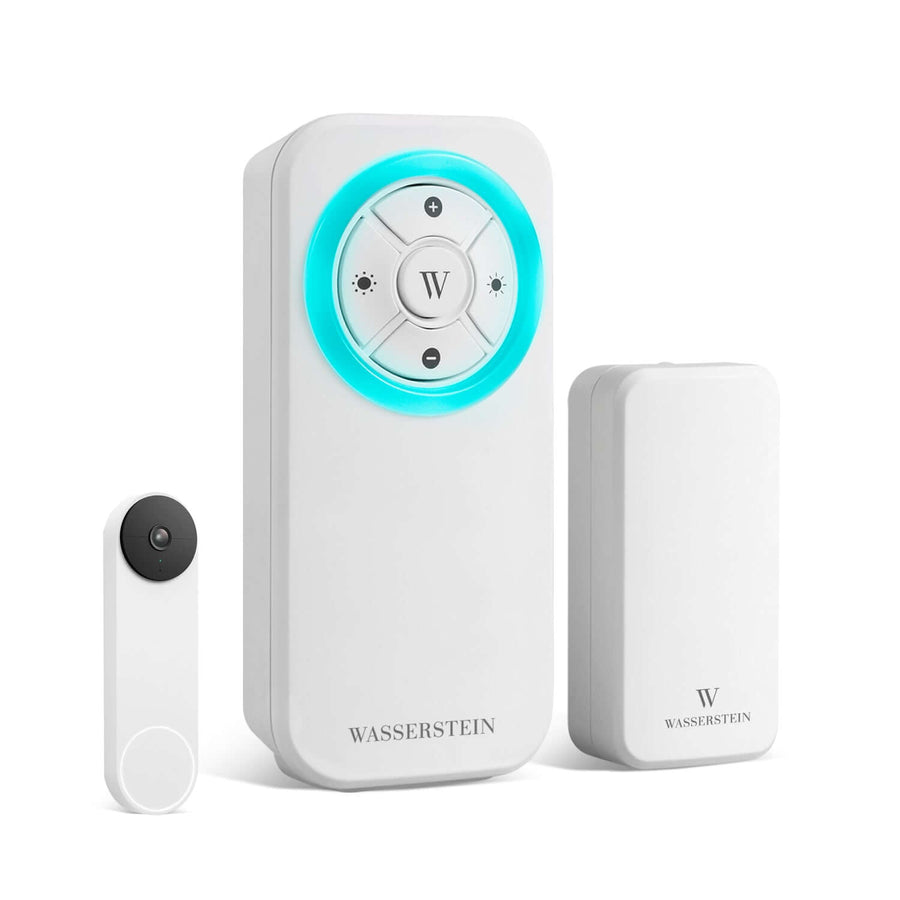
- Wasserstein Doorbell Chime
- Google Nest Doorbell (battery or wired)
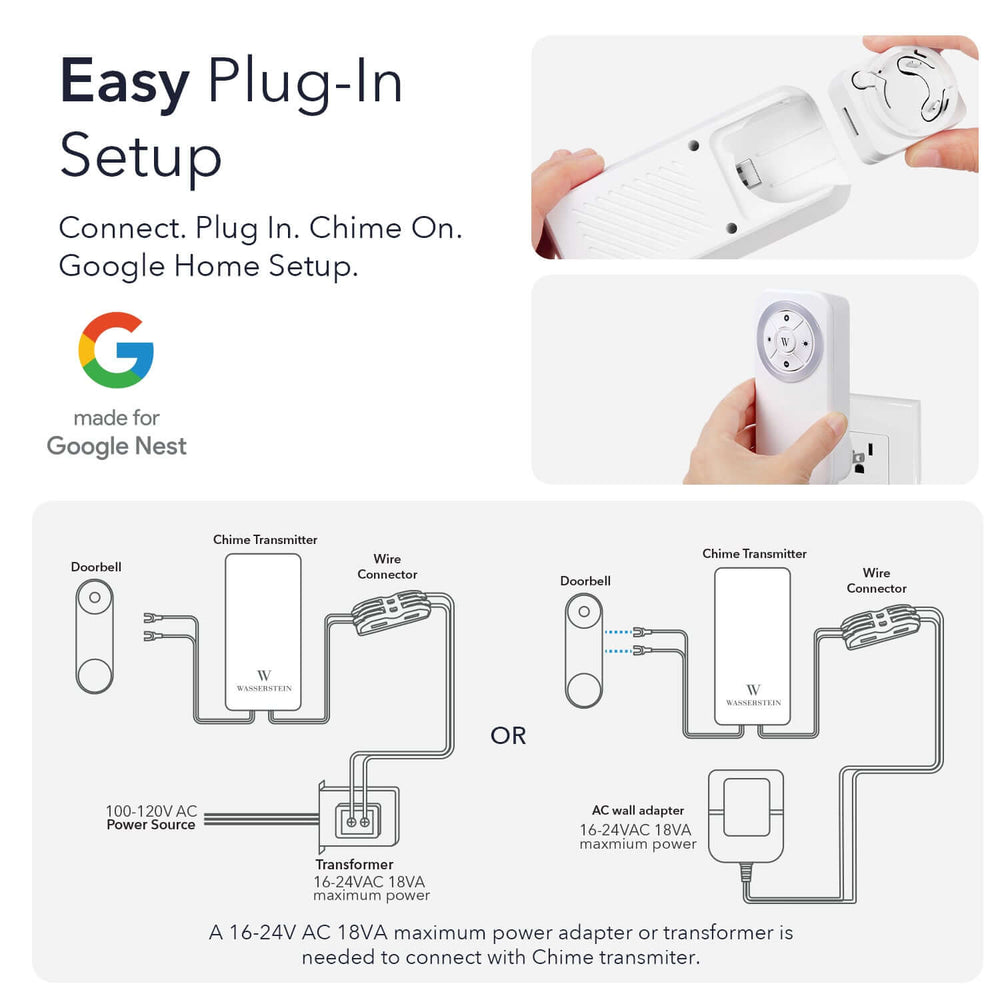
- AC power adapter and transformer (meeting IEC 62368-1 safety standards and LPS2 power level)
- Necessary tools for installation

Step 1: Position the Transmitter
Select an appropriate location for the transmitter, ideally under a covered area or inside your house. The recommended height for installation is between 4.5 feet and 6.0 feet.
Step 2: Connect the Transmitter to the Nest Doorbell
Locate the spade connector provided with the Nest Doorbell. Connect the spade connector to the back of the Nest Doorbell. Ensure a secure connection.

Step 3: Connect the AC Power
Connect the AC power terminal to the AC power adapter connector. There's no specific polarity to consider.

Step 4: Set Up the Google Nest Doorbell
 b. Go to "Doorbell."
 c. Confirm that "Ring indoor chime" is set to "On."
 d. Press the doorbell button, and the indoor chime should ring. Note that it may take up to a minute for settings to update.
 e. Confirm that the transmitter and receiver are paired.
Step 5: Install the Wireless Chime
a. Rotate the plug on the Wireless Chime clockwise until you hear a click, locking it in place.

Step 6: Pair the Transmitter and the Receiver
a. Press and hold both brightness adjustment buttons on the transmitter for 3 seconds until the LED starts blinking.
b. Press the doorbell button.
c. The Wireless Chime will now be paired with the Wireless Transmitter.
With the Wasserstein Doorbell Chime now seamlessly integrated with your Nest Doorbell, you've added an extra layer of convenience and security to your home. No more missed visitors or deliveries – your doorbell chime will make sure you're always in the know.


Leave a comment