How to Connect Your Blink Outdoor to the Wasserstein Solar Panel in 7 Easy Steps
The Blink Outdoor is one of the top outdoor security cameras on the market today.
Part of its appeal is its price point – it’s a mid-range camera with features comparable to its more expensive rivals.
One of its major selling points is its power source, running on 2 AA lithium batteries that can last up to 2 years.
While it may be battery-powered, Amazon didn’t skip on important security features like HD day and night view, two-way audio, and customizable motion zones.
Like other wireless devices, the Blink Outdoor could run out of juice at the most random times.
And you certainly don’t want your security camera dying at any point of the day.
The good thing is that you can opt to have it hooked to a solar panel for continuous power.
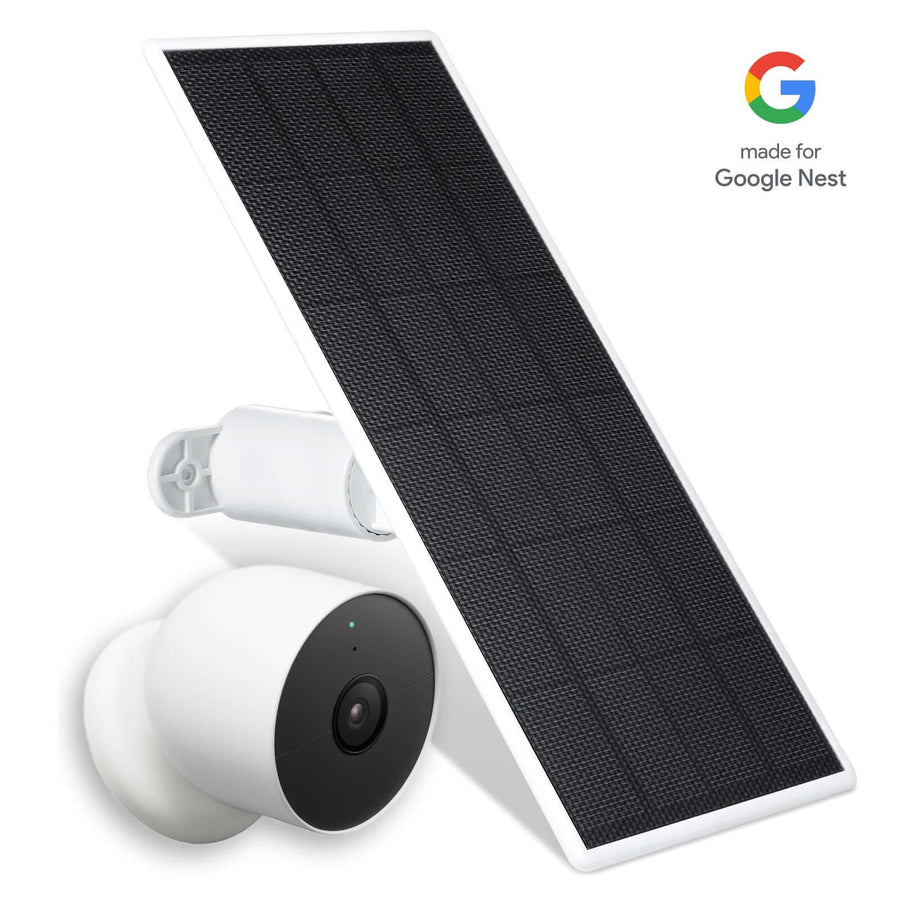
Here’s how you can connect your Blink Outdoor to the Wasserstein Solar Panel:
Installation Guide
PRO TIP: Before connecting the Wasserstein Solar Panel to your Blink Outdoor, let it sit under the sun for a day or two to ensure it has enough power supply.
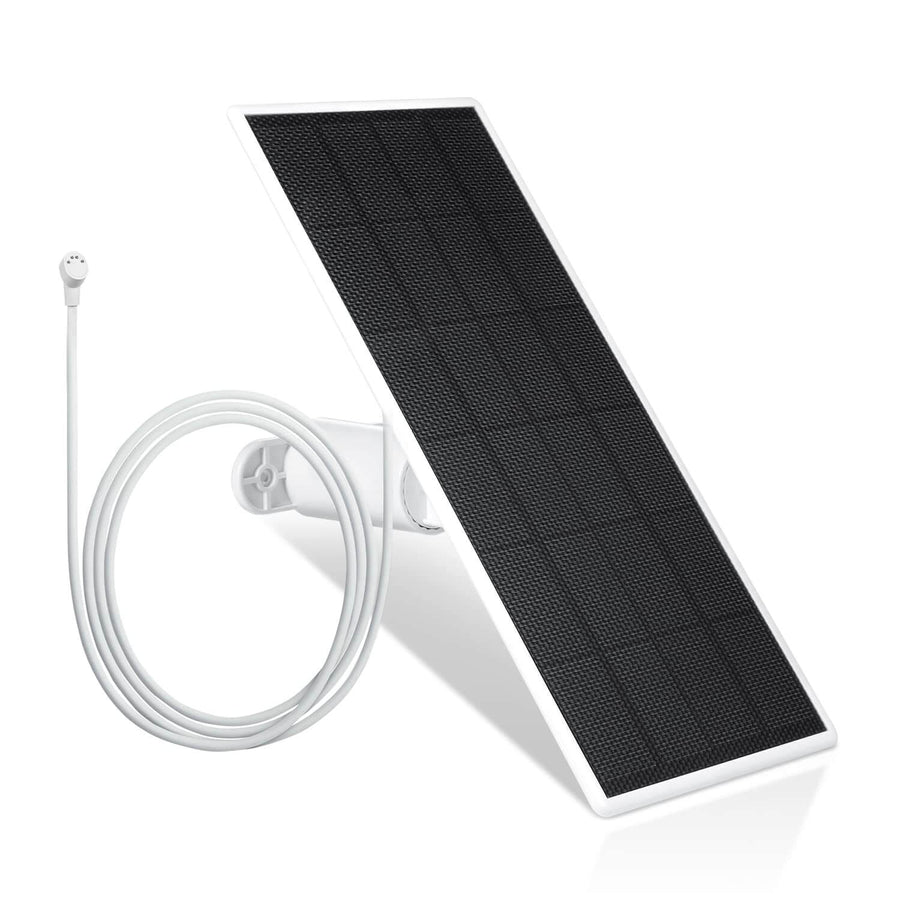
- Screw the mount onto a wall or any flat surface using the included screws.

- Locate the arrow-up sign at the back of the panel.

- Slide the mounting bracket up the back of the solar panel until you hear a click.

-
Tilt the mount of the solar panel in a 360-degree adjustable manner to achieve the optimal angle for direct exposure to sunlight.

- Remove the batteries from your Blink Outdoor.

- Take the micro-USB connector and plug it into your camera.

- Make sure that the connection is tightly sealed to maintain weatherproofing.

Now, you can enjoy 24/7 power on your Blink Outdoor without the constant battery swaps.
Furthermore, to upgrade your Blink Outdoor setup, check out Wasserstein’s collection of Blink accessories, including floodlights, mounts, and more!


Leave a comment